
Apple may have made Mavericks more accessible to Mac users everywhere at the fair price of zero dollars, but unfortunately, they made it trickier to create a bootable install drive of the Mac OS X 10.9 operating system.
- Don't Miss: How to Create a Bootable Install Drive of 10.11 El Capitan
- Don't Miss: How to Create a Bootable Install Drive of 10.10 Yosemite
There hasn't been any physical installation DVDs available for Mac operating systems since Snow Leopard (10.6), with Lion (10.7) and Mountain Lion (10.8) both available via the Mac App Store as downloads only.
So, if you wanted a backup install disc in case something went wrong, or in case you wanted to install Mac OS X on your computer without signing into the Mac App Store, you'd have to create a bootable DVD or USB drive yourself using the InstallESD.dmg, which was an easy process using Disk Utility.
Unfortunately, that Disk Utility method does not work for the newest Mac OS X 10.9 (Mavericks) that was released as a free download on Tuesday. Technically, you can still use Disk Utility to make a bootable USB drive, but the process is more complicated than it's worth.
There are a couple alternatives, though, and they're both fairly easy.
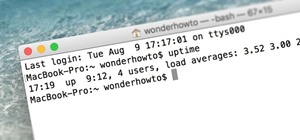
Method #1: Using Terminal
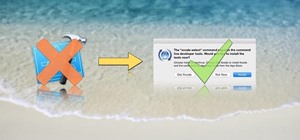
Since we don't want to use Disk Utility anymore to make a bootable Mac OS X Mavericks install drive, we'll have to resort to the Terminal application on your Mac.
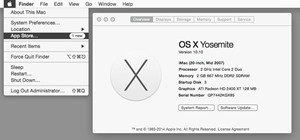
Step 1: Download Mavericks from the Mac App Store
Before we get to the USB drive part, make sure you download Mavericks from the Mac App Store.
If you've haven't installed Mavericks onto your computer yet, download it but don't run the installer. If you do, you'll have to download 5.3 GB file all over again, which can take a good amount of time.
If you've already installed Mavericks, you will have to download the installer again, since it self-destructs after installation.
After the download is complete, a file called Install OS X Mavericks should be in your Applications folder. Keep it there.

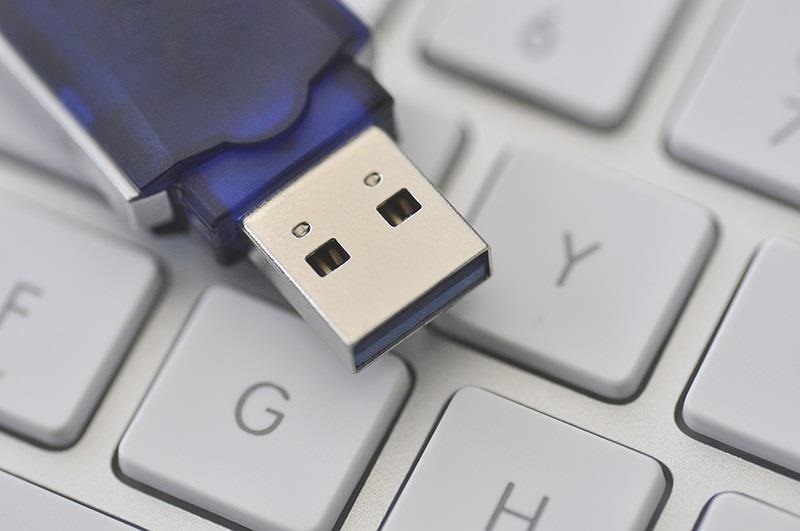
Step 2: Format Your USB Flash Drive with Disk Utility
Since the Mavericks install file is over 5 GB, you'll need an empty USB flash drive that's at least 8 GB in size, formatted as Mac OS Extended (Journaled). To make sure it's good to go, we'll just reformat it.
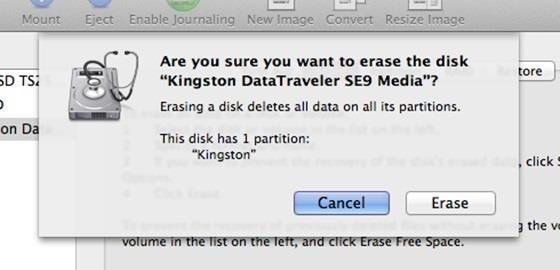
Plug in your USB drive and open up Disk Utility. Though we don't want to use Disk Utility to make the bootable drive, we still need it to make sure the USB drive is formatted correctly.
Select your flash drive from the left side in Disk Utility, then select the Erase tab. Make sure the format is Mac OS Extended (Journaled), keep the name as Untitled, and hit the Erase button.
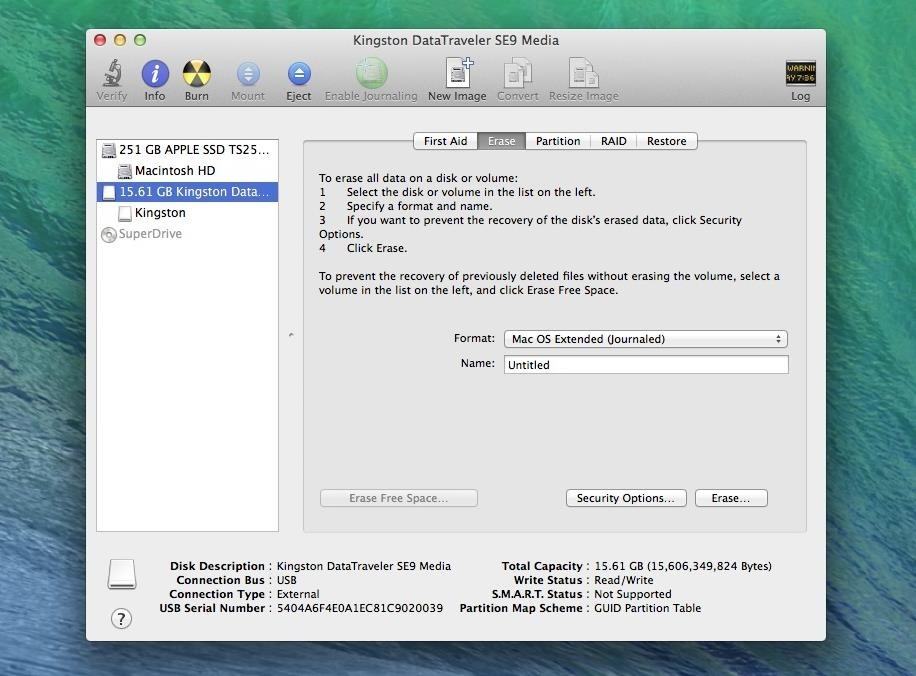
Note: You can change the name from "Untitled" to something else, just make sure you alter the path name in Step 3 to reflect this.
Then hit the Erase button once more to repartition the drive.
Step 3: Make the Bootable USB Drive with Terminal
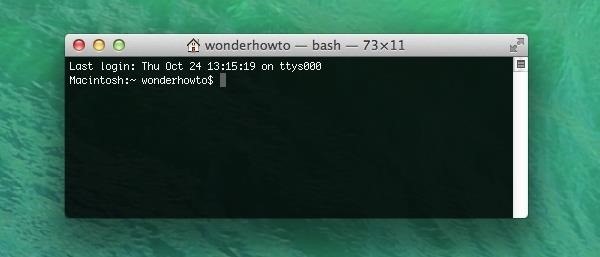
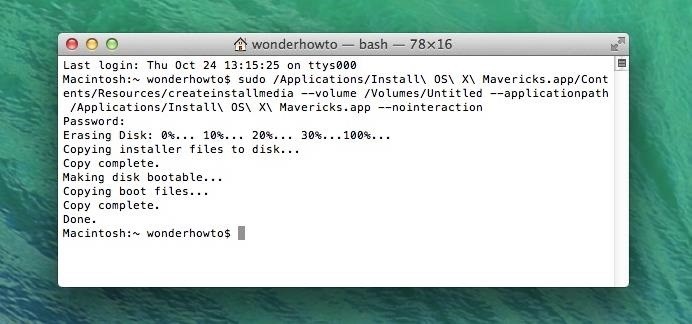
Once you have Mavericks in your Applications folder and your USB flash drive has remounted, open up Terminal. You can find it via Spotlight Search, or in the Utilities folder in Applications.
Once it's opened, go ahead and copy/paste the following command into your Terminal window (or type it out if you want).
- sudo /Applications/Install\ OS\ X\ Mavericks.app/Contents/Resources/createinstallmedia --volume /Volumes/Untitled --applicationpath /Applications/Install\ OS\ X\ Mavericks.app --nointeraction
Then, hit Enter. It will ask you to type in your administrator password. Do so and hit Enter again.
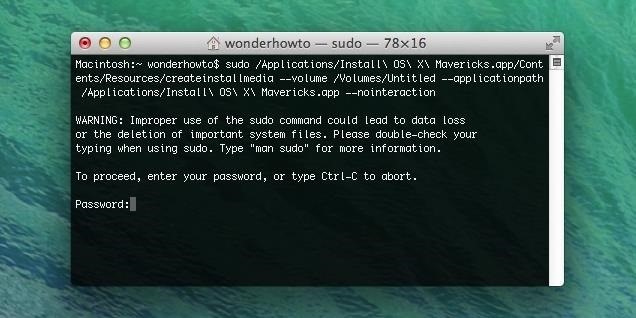
Note: If you don't have an administrator password set up on your Mac, you will not be able to proceed. You need to set up a password first, since this command requires root privileges.
Terminal will now erase your drive again and start copying the files over to your USB flash drive.
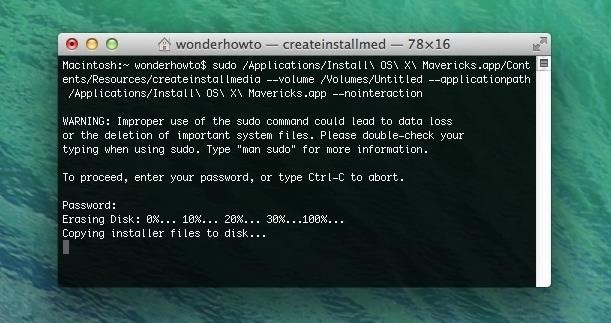
Some have said this method should only take about 20 minutes, but It took me a little over an hour to make mine. Once it's finished (it should say "Copy complete" and "Done"), you'll have a bootable USB drive of Mac OS X 10.9 Mavericks.
If for some reason it looks like it's stuck on Copying installer files to disk..., you might want to try again. I had to do this, and it worked fine the second time. If that doesn't work, try another USB drive. Alternatively, you can use the next method.
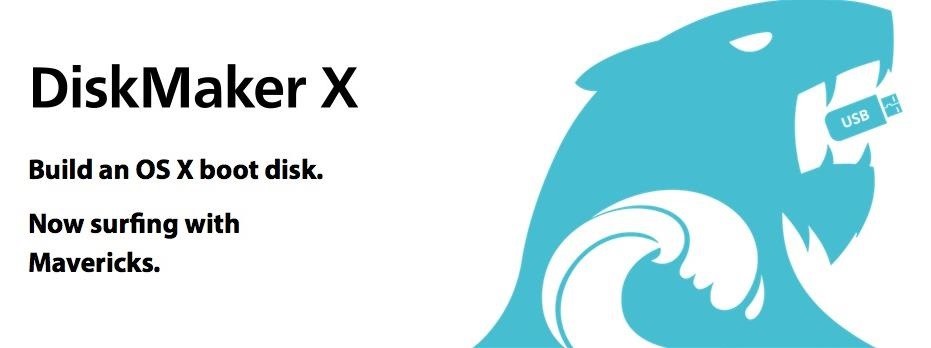
Method #2: Using DiskMaker X
If you're not comfortable using Terminal on your Mac, DiskMaker X is for you. This app has actually been around since Lion and Mountain Lion, and was previously called Lion DiskMaker, but it's recently been updated to work with Mavericks. It's free to download and use, but you can donate to the devs if you want.
Step 1: Download & Install DiskMaker X
Just download DiskMaker X 3 and install it to your Applications folder. Also, make sure you already have the Install OS X Mavericks file there, too, and a properly formatted USB drive before continuing.
Step 2: Run Through the Easy Instructions
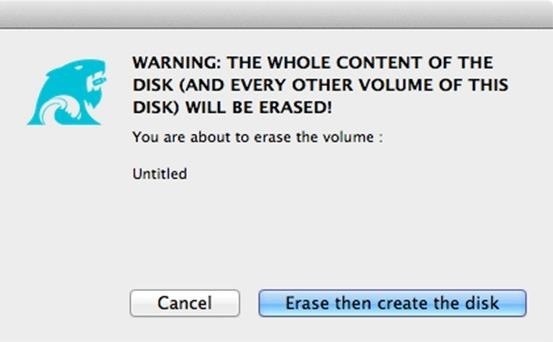
Now open up DiskMaker X and choose Mavericks (10.9). It will find the installer file in your Applications folder. Select Use this copy, choose the USB thumb drive option (if that's what you're using), select the partition you want to erase (e.g. Untitled), and hit Erase then create the disk.
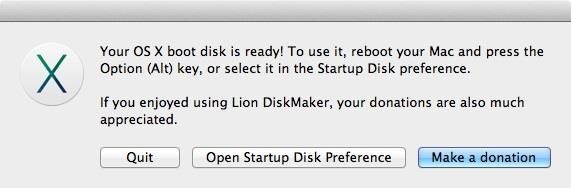
Then, enter your admin password and wait. Once it's done, you should see a notice saying your OS X boot disk is ready.
Using Your New Bootable USB Drive
To use your bootable Mavericks USB drive, simply plug in the drive to your Mac of choice and restart (or turn on) the computer while holding down the Option (Alt) key on your keyboard.
When the gray screen comes up, select "Install OS X Mavericks."
From there, you can choose to upgrade your current OS to Mavericks, or you can perform a clean install by erasing your main hard drive in Disk Utility, and then choosing "Install a new copy of OS X" instead.
Just updated your iPhone? You'll find new emoji, enhanced security, podcast transcripts, Apple Cash virtual numbers, and other useful features. There are even new additions hidden within Safari. Find out what's new and changed on your iPhone with the iOS 17.4 update.


4 Comments
Please wait, DiskMaker X is copying files...
It is taking ages to copy files. How long should I wait before the files are copied?
Did it ever finish? Mine has been doing this for about 3 hours to a thumb drive.
Boys boys.. this will happen using a crappy USB Flash Drive, If you have had the drive for some time & used it a bit it will be slow. Also if it's a smaller drive that will also make it slow.
Use a Brand New Flash Drive with a Good Spec rating & not just any cheap Flash Drive you come across.
I did mine to a 40GB HDD via USB at the back of my Mac Mini 2011 & it finished within 5 Mins Flat.. Very Smooth & simple & Fast!!
Thanks to the OP for this Info :)
Kelly, that has nothing to do with it. Diskmaker X has some sort of bug that makes it hang on that "please wait" message for some of us, even though the process has been completed a long time ago. Just force eject your thumb drive, and use it to do the installation, it will work. No idea what causes the hang, but it doesn't happen to everyone.
Share Your Thoughts