
During a power outage at my apartment this year, I watched movies on my MacBook Pro instead of on my television. While I had no complaints about the screen size, I did have an issue with how low the audio coming from my speakers was. External speakers would help, but I don't want to buy them or lug them around every time I want to watch a movie.
I didn't do anything about it at the time, but then I realized that I should be able to crank up the volume to any unsafe level I want. Turns out, there are a few different ways to boost a Mac's volume level, some of which work system-wide, and others that are app-specific.
Option #1: System-Wide Volume Booster & Equalizer (Paid)
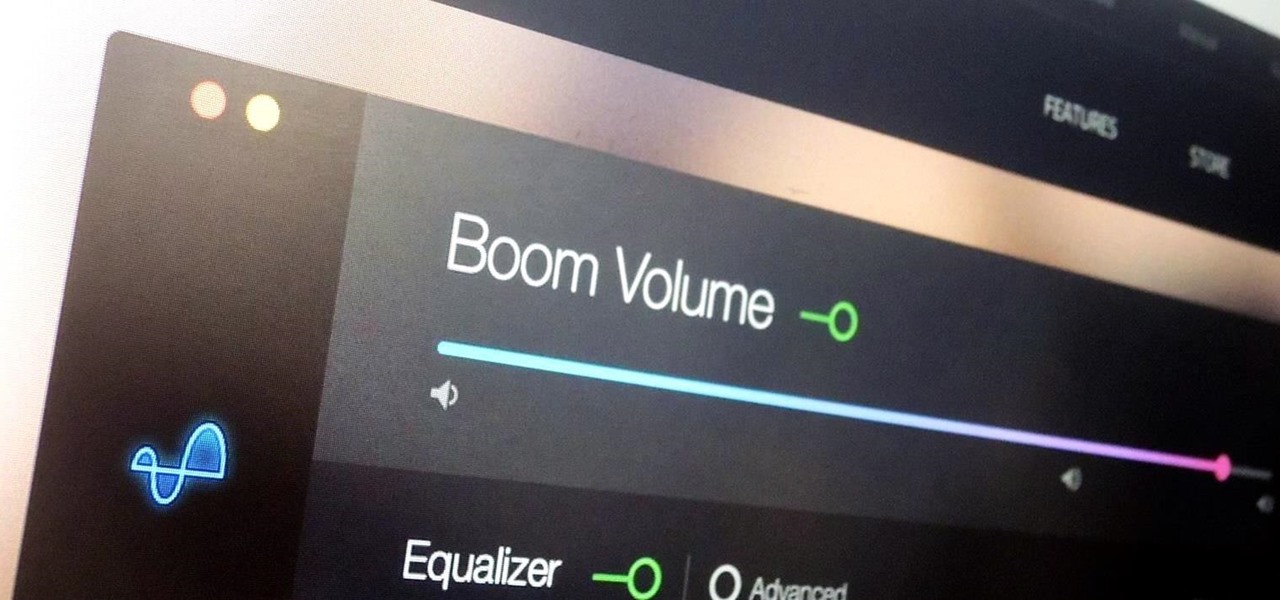
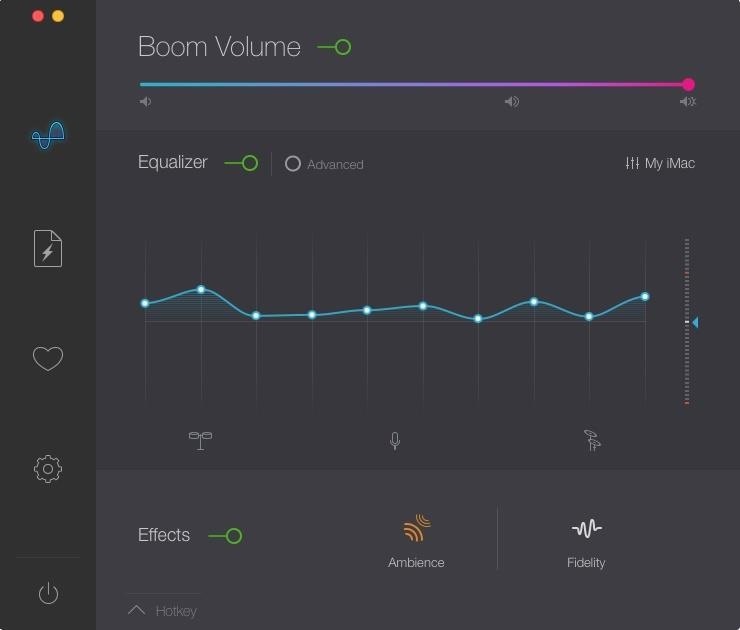
Boom 2 is an incredibly intuitive and beautifully designed volume booster and equalizer that works system-wide on Mac OS X, specifically for Yosemite. This means that music from iTunes and Spotify, videos from QuickTime, and movies streaming from Netflix and Hulu will now be louder. And the most surprising part is that even the quality of the audio increases.
The process to set it up is incredibly easy and actually pretty fun. When you open Boom, it does all the work for you, calibrating the best sound for your computer. A song will play in the background, showing you the differences in loudness and quality when the EQ is off and on. If you're not satisfied with the end result, you can customize the equalizer, change the frequency controls, add effects, and more.
Boom 2 has a free 7-day trial, but costs $14.99 to purchase thereafter. If you're running Mountain Lion or Mavericks, you can purchase the original Boom for $6.99 instead.
Option #2: System-Wide Volume Booster & Equalizer (Free)
If you don't want to shell out any money, you can create your own system-wide equalizer for Mac OS X. For this, you'll need to download the following two free programs.
- Soundflower (download the latest version)
- Apple's AU Lab
Follow the instructions that both software programs provide, then reboot your computer. Now turn your volume all the way up and follow these steps to finish setting everything up:
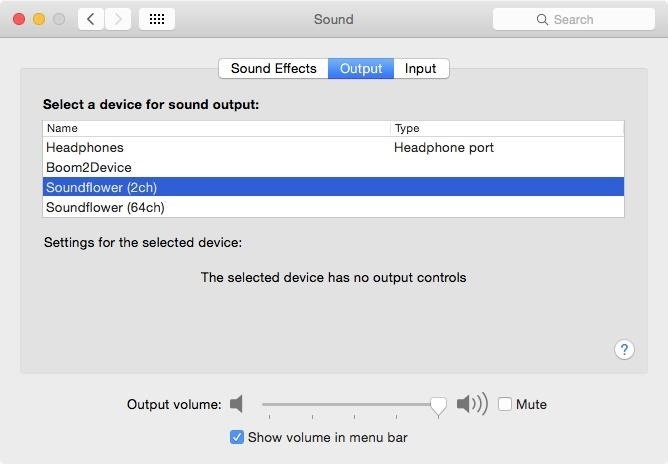
- Go to System Preferences -> Sound -> Output and select "Soundflower (2ch)."
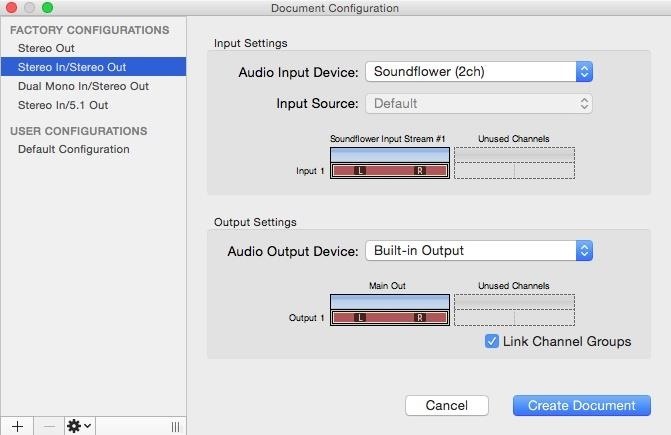
- Head over to Applications -> Utilities and open the AU Lab app. Select "Soundflower (2ch)" from the Audio Input Device settings and then click on "Create Document."
- Turn up both of the master volumes.
- From the Effects tab, click on "AUGraphicEQ."
- Change the EQ from 31 bands to 10 bands (to make it easier).
- Experiment!
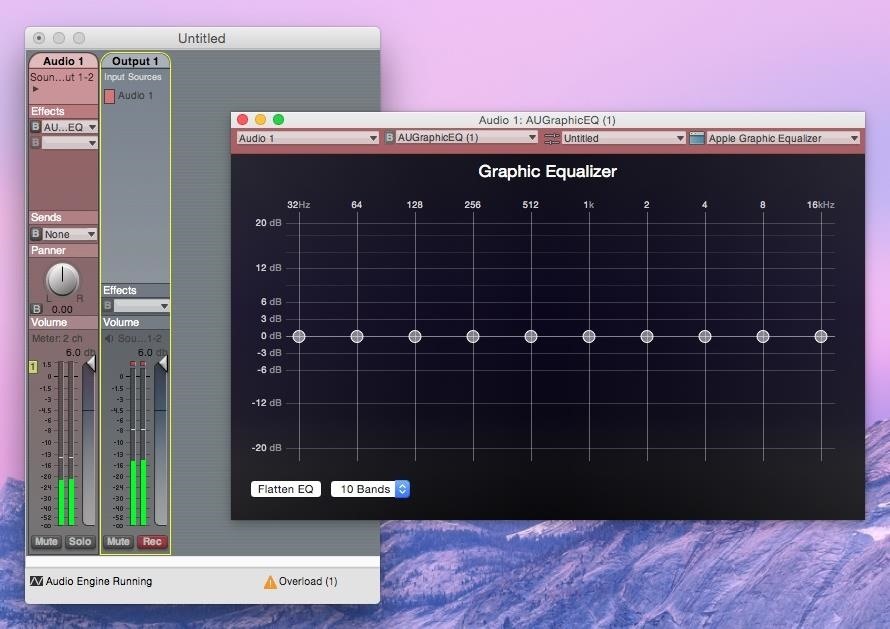
- When you're satisfied with the sound (and how loud it is), save it from the tab that says Untitled.
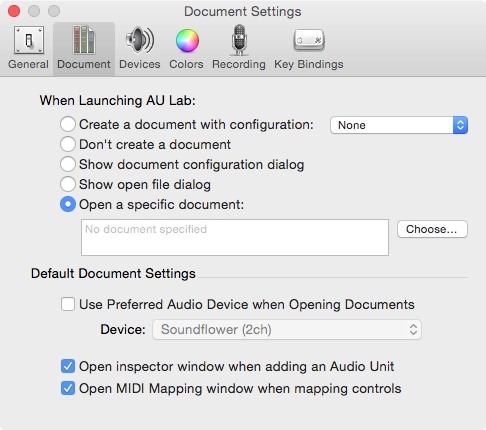
- Finally, open the AU Lab preferences, click on "Document," check the box next to "Open a specific document," and find the file you just saved. This will open your preferred EQ setup every time you open AU Labs.
- Since you need AU Labs open at all times for the EQ to take effect, right-click on the AU Lab icon, go to "Options" and select "Open at Login" so that it opens automatically every time you boot up.
Option #3: Increase Sound for Local Music & Videos
As a great alternative to iTunes or QuickTime, VLC Media Player allows users to play videos and music from just about any format. Better yet, you can even increase the sound to 200% and adjust the lows and highs with a built-in EQ.
Just download VLC Media Player and select a video or song (from your computer) to play once it's all set up. Now go to Preferences -> Audio, check the circle next to "Always reset audio start level to," and adjust the slider all the way to the right (200%).
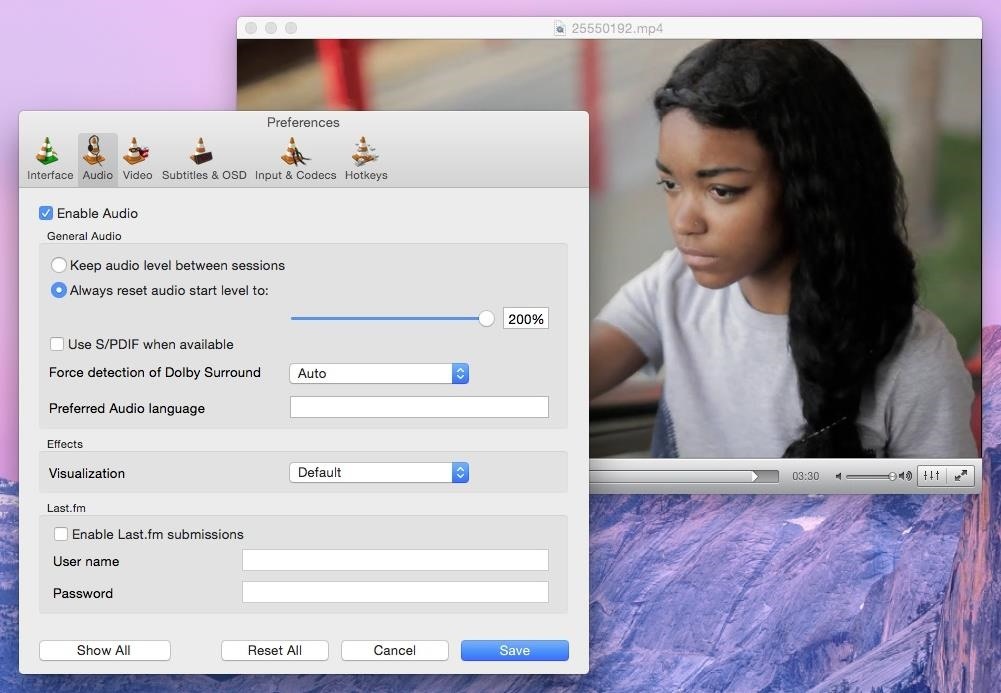
Play something and you'll see just how freakin' loud it can get.
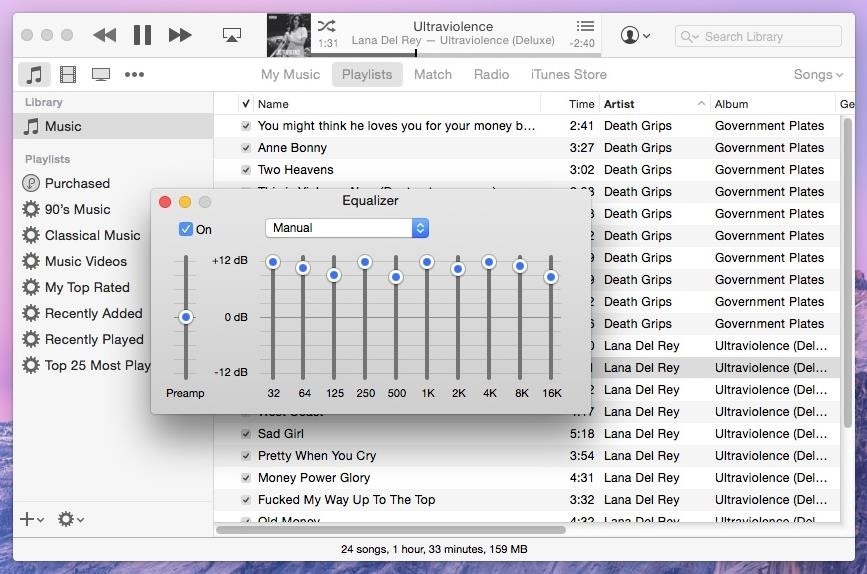
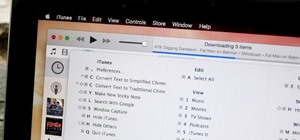
Option #4: Increase Sound for iTunes Only
To increase the sound just for iTunes, you can do so by going to the "Window" option in the menu bar and going to "Equalizer." Mess around with it and see how high you can get the sound without distorting it too much.
Do you guys have any other tips on how to increase the sound levels on your computer? Let us know in the comments below.
Just updated your iPhone? You'll find new emoji, enhanced security, podcast transcripts, Apple Cash virtual numbers, and other useful features. There are even new additions hidden within Safari. Find out what's new and changed on your iPhone with the iOS 17.4 update.


12 Comments
As soon as I change my output to Soundflower (2ch), the entire system goes silent and stays that way until I change the output back to internal speakers. Has anyone had this happen?
Great tips thank you for mac and VLC - trying boom now!
Doesn't anyone think that apple should fix this?
My grand kids toy computers have better sound volume
Well, the VLC trick didn't work. I tried that first, because I don't want to pay $19.95 for Boombox, and your other fixes are more complicate. I think that leaves two.
Well, I finally did buy Boombox2...twice. Unfortunately, neither download worked. That's very disappointing...and costly. I had just plain Boom before Boom2 came out, and it was great. I had no complaints about it. Unfortunately, just plain Boom no longer works, and Boom2 doesn't either.
Option 2 is the easier and better solution, everyone can do this easily. Tested in two different macs and works like a charm. Congrats! But is very annoying that apple doesn´t have any native solution.
Thanks for this write-up: was going crazy with the default sound on the Macbook Pro my employer provided recently. Went with Option #2 and it works great! Love the AU Lab EQ and have saved settings that work my various headphones and IEMs. Agree that Apple should dedicate some software engineers to add these capabilities to the built in Sound Control Panel.
For those with a newer IOS, I found a newer version of soundflower...https://github.com/mattingalls/Soundflower/releases/tag/2.0b2
https://github.com/mattingalls/Soundflower/releases/tag/2.0b2
#4 worked for me. Thanks. I might come back later to try the other "fixes" again, but this is enough for me today. Thanks again.
Didn't work for OS X 10.8.5 ?
BE CAREFUL!!!! WARNING BOOST APP WILL DAMAGE YOUR SPEAKERS. IT BROKE MINES ON A MACBOOK RETINA. DONT USE IT VERY SAD :(
I don't rate it, it did nothing for my late 2009 Mac Mini running Yosemite. I know it's old so I use a MacBook pro for most stuff but I wanted the MacMini to connect it to the TV and not mess about plugging my new one into the TV
Share Your Thoughts