

One of the best features of Android is the fact that it's open-source, giving developers the ability to use it on pretty much any device they can think of, like on a Windows PC using Andy. That's what drove the creators behind the Android-x86 project to port over the mobile OS to any computer running an Intel processor.
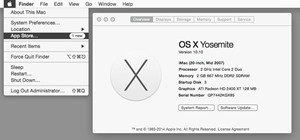
Their newest release, dubbed Android-x86 4.4-r1, allows anyone with a compatible computer to run Android 4.4.2 KitKat. Since all newer Macs come with an Intel chip, they can all run this release without any problems.
While it would be great to be able to install KitKat through BootCamp, that isn't currently possible, so instead, we will use the emulation software VirtualBox to run Android on top of Mac OS X.
Before Getting Started
While this Android port can run on pretty much any Intel-based Mac, you will still need to make sure you have at least 10GB of free hard drive space and 4GB of RAM. If not, you will run into performance issues. The Android ISO file and VirtualBox are both free, so go ahead and download both from the links below.
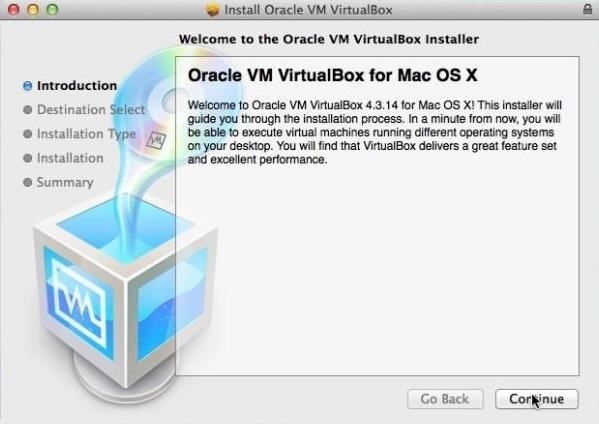
Step 1: Install VirtualBox
Now that you have both files downloaded, you are free to install VirtualBox. Just double-click on the VirtualBox.dmg file and follow the installation guide.
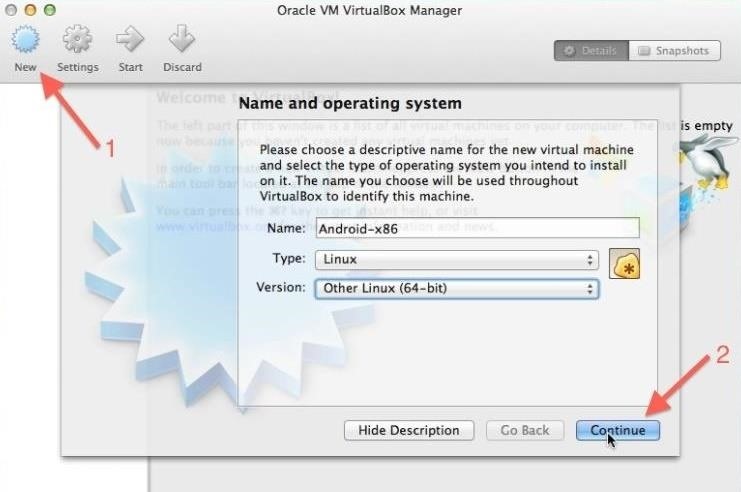
Step 2: Set Up Your New Virtual Machine
Open up VirtualBox after it finishes installing, then tap the New icon on the top left to create a new virtual machine. You can name the machine whatever you want, just be sure to set the Type to Linux and Version to Other Linux.
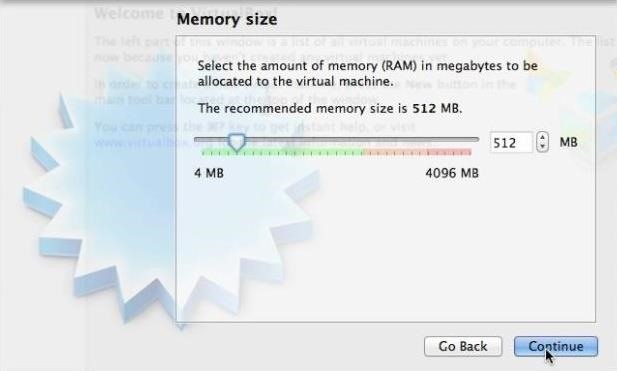
On the next dialog box, enter 512 MB for memory size, then tap Continue. Select the create a virtual hard drive now option and choose VDI as the file type.
Under Storage on physical hard drive, select Dynamically allocated. The next screen will allow you choose how much hard drive space you want to give to your new Android machine.
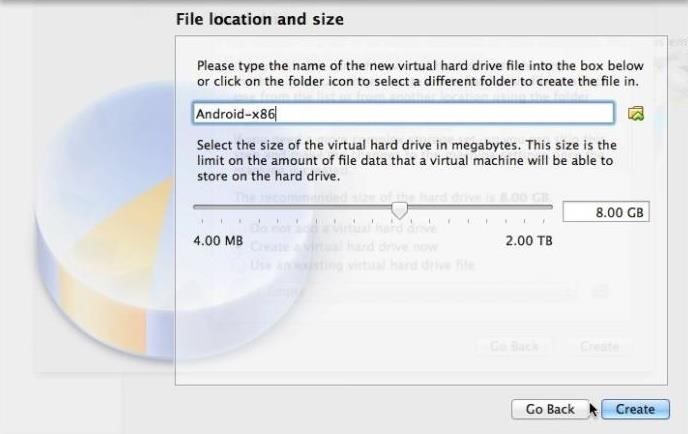
I chose to set it to 8GB, but you can select any size you want. After that is done, you're pretty much all set, so tap Create.
Step 3: Create Bootable Partition
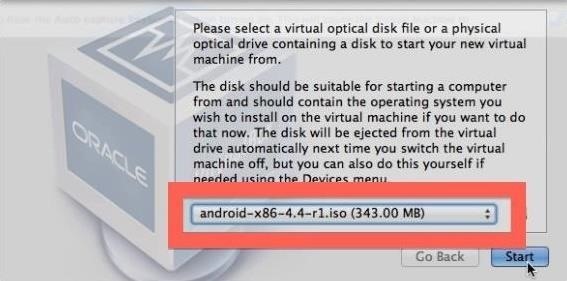
You have now successfully created your virtual machine, so now you'll need to actually create a partition to install Android on to. To start that process, select the new machine from the left sidebar, then click Start.

From the installation select screen, locate your Android.iso file, and when that boots up, select Installation, then Create/Modify Partitions.
On the next screen, select the New option, then choose Primary as the partition type, making sure it says 8587.19 MB under Size.
After it has created the partition, you will be brought back to the partition screen where you will need to highlight your new partition and select Bootable, then Write.
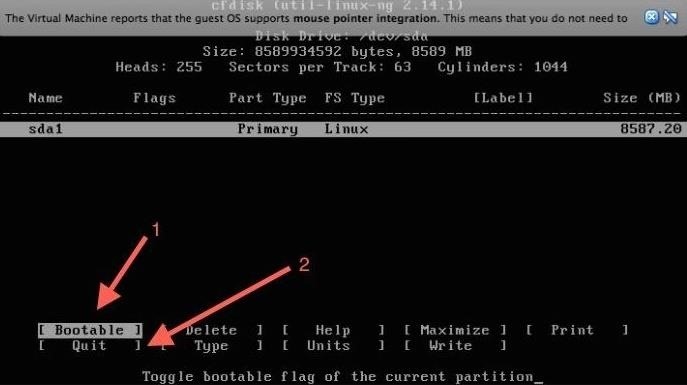
Upon choosing Write, you will need to type yes to confirm the changes, then select Quit once finished.
Step 4: Install Android
All that is left to do now is install Android, so select sda1 Linux VBOX HARDDISK from the box that popped up and choose ext3 as the format type.
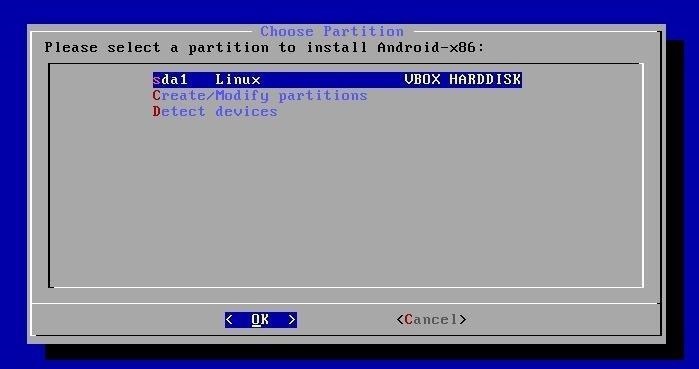
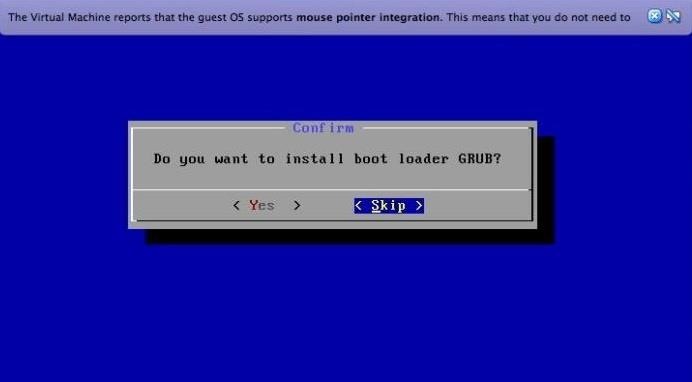
You will also need to install GRUB bootloader to properly boot Android, as well as allow your system directory to be read-write. After selecting both of these options, VirtualBox will begin to install Android from the ISO image you provided earlier.
Step 5: First Boot
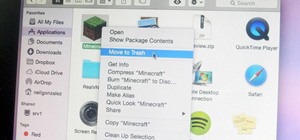
The install is pretty quick, but don not run it after it has completed. You will first need to unmount the ISO by clicking the CD icon on the bottom right of the VirtualBox window and unchecking the android-x86-4.2-20130228.iso option, then selecting force unmount.
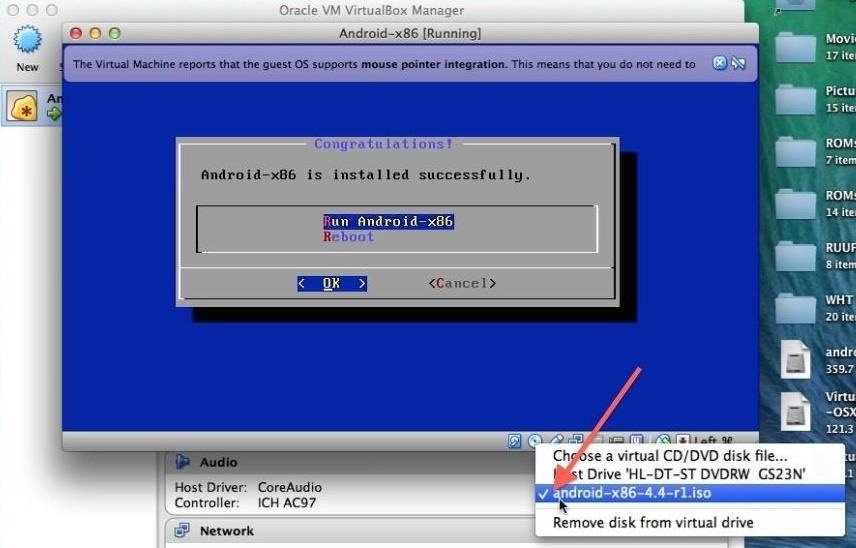
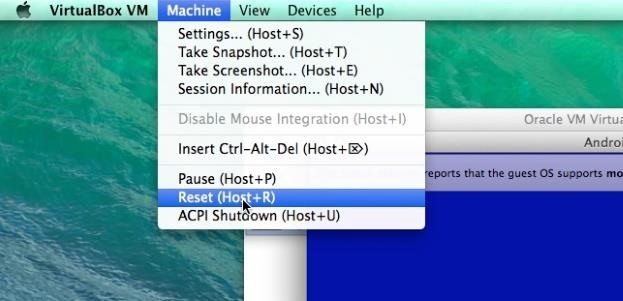
After the unmount completes, select Reset from the Machine menu bar drop-down. Your new machine will now be ready to go, but the initial boot-up time will be longer than usual because it is optimizing the Dalvik runtime.
Welcome to Android
Once the boot up finishes, you will go through the normal Android welcome screens.
Your mouse cursor will be stuck inside the VirtualBox window after you start clicking inside of it, so you will need to press the left Command button on your keyboard to free it.
Also, you can go ahead and skip the Wi-Fi login prompt because VirtualBox will piggyback off your Mac's internet connection.

And there you have it, folks! You are now the proud owner of a Mac that can download and run any Android app that is compatible with KitKat.
The ROM that comes preloaded on this build is pretty bare bones, but you can always download whatever you want from the Google Play Store app. Be sure to drop me comment below if you run into any issues getting your virtual machine up and running!
Just updated your iPhone? You'll find new emoji, enhanced security, podcast transcripts, Apple Cash virtual numbers, and other useful features. There are even new additions hidden within Safari. Find out what's new and changed on your iPhone with the iOS 17.4 update.


8 Comments
I did all the steps correctly, but my mouse will not show up in the Android OS window in virtualbox. I have to actually drag a window just barely over the android window in order to see where my mouse is and where I am clicking, then i can click once before I have to do the same thing again. I tried these steps twice and I'm still having the same problem.
Click the mouse icon on the bottom right of the screen and disable mouse integration. After that click any where inside the window and then a pop up should come up asking if you want to use a mouse with Virtual Box. Accept that and the mouse should pop up again.
What about getting the machine to wake up after the screen has been turned off because it has gone to sleep?
The machine should react to your mouse clicks after it g
oes to sleep.
Well I've tried clicking with the mouse integration on and off and it doesn't work; even pressing return and spacebar and almost every key on the keyboard won't work.
I downloaded and it successfully got to the android screen, but when I download game apps (Clash of Clans, Summoner's War, etc) it crashes and I can't open it. Can anyone help?
You may need to allocate more RAM to the virtual machine.
Doesn't work with OS X El Capitan
Share Your Thoughts