
Apple's Touch ID, introduced on the iPhone 5S, has definitely made my life a little easier. Not only can I unlock my device, I can use the tech to log in to websites, make purchases through iTunes, and buy groceries at Walgreens using just my fingerprint. Still, as awesome as Touch ID is, it's pretty limited as to what it can do on native apps.
Luckily, third-party developers have taken it upon themselves to implement the fingerprint recognition feature in their own apps. One such example is MacID, from developer Kane Cheshire, which lets you use your Touch ID fingerprint (or a passcode, for older devices) to quickly unlock your password-protected Mac.
Step 1: Install MacID for Mac & iOS
To start unlocking your Mac with Touch ID, you'll need to install MacID on both your computer and iOS device, which is free for a limited time. Before you download MacID, make sure that your computer and iOS device support Bluetooth LE (which is how MacID pairs devices). Touch ID is optional, since you can still lock/unlock your Mac using your passcode.
Macs with Bluetooth LE:
- iMac late-2012 or later
- MacBook Air 2011 or later
- MacBook Pro 2012 or later
- Mac mini 2011 or later
- Mac Pro late-2013 or later
iOS Devices with Bluetooth LE:
- iPhone 4s and later
- iPad 3rd and 4th gen
- iPad Air (all models)
- iPad mini (all models)
- iPod touch 5th gen
iOS Devices with Bluetooth LE and Touch ID:
- iPhone 5s, iPhone 6, iPhone 6 Plus
- iPad Air 2, iPad mini 3
Also, make sure you're running OS X Yosemite and iOS 8. If your devices are included in the list above, download MacID from the two links below.
Step 2: Pair Your Devices
After the apps are installed, open MacID on both your Mac and iOS device. (If you can't open it on your Mac, double-check that your computer is compatible, and make sure your Gatekeeper settings allow apps from outside the Mac App Store.)
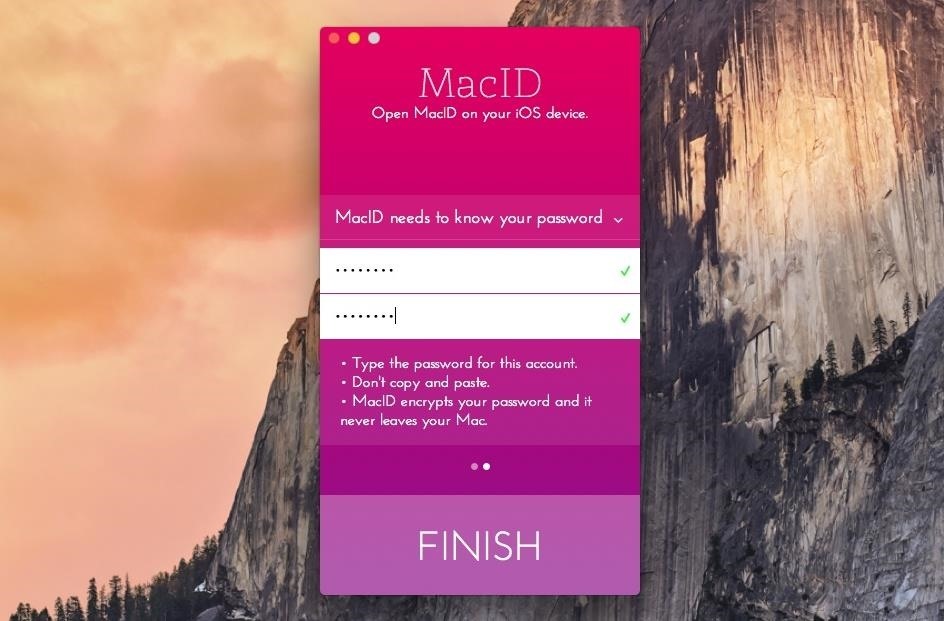
On your Mac, the app will search for your iOS device using Bluetooth, so make sure it's enabled on both devices. When it finds your iOS device, click on it, enter the password to your Mac, and hit "Finish." This will encrypt your password and allow you to use Touch ID (or your passcode) to unlock your computer.
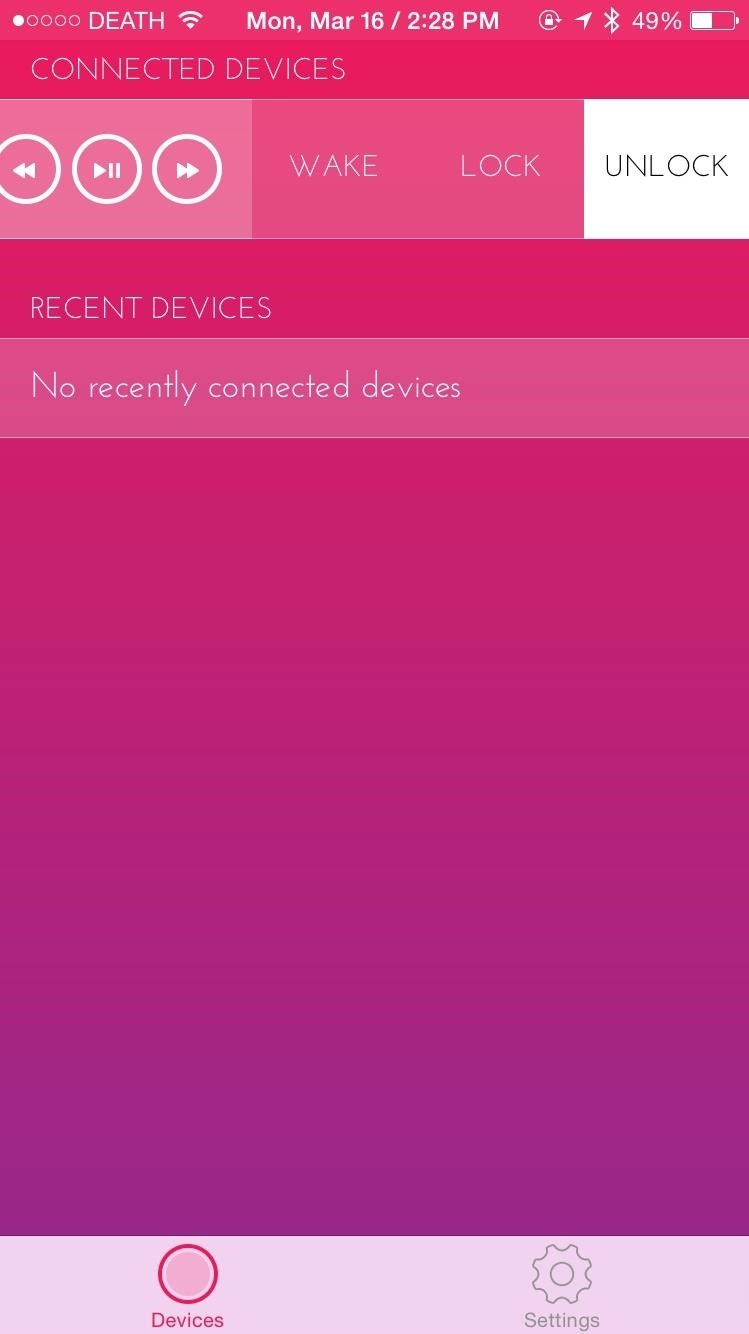
On your iOS device, your computer should show up without you having to do anything. Under Connected Devices, you'll see your computer, as well as a lock sign and a few icons to control music playing from iTunes.
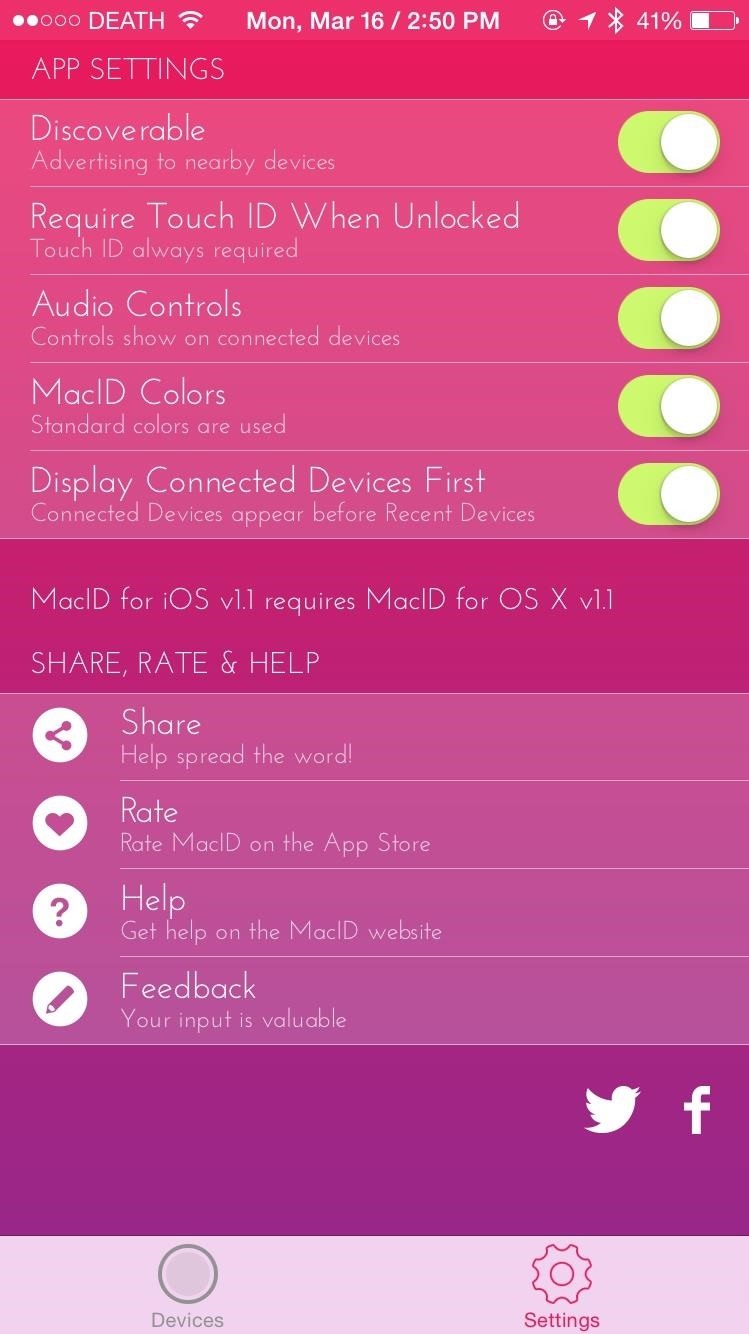
In Settings, you can disable the audio controls, change the color scheme of the app, stop your device from being discoverable, and disable Touch ID.

Step 3: Unlock Your Mac
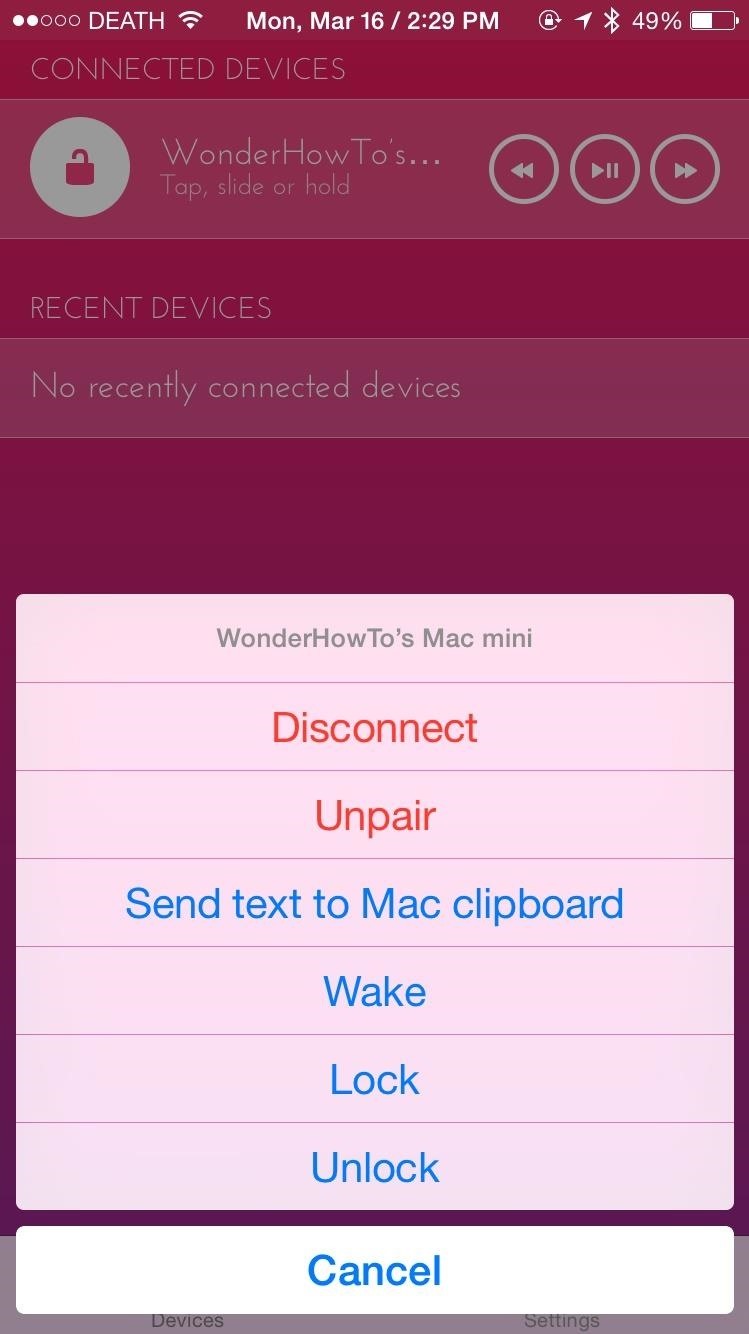
Using several gestures, you can not only unlock your computer, but also lock it, wake it up, disconnect from it, and even send text to it. Swipe right on the connected device to view the wake, lock, and unlock controls.
If your computer is locked, unlock it by tapping on the connected device. Hold down on the connected device to bring up a menu with the rest of the options.
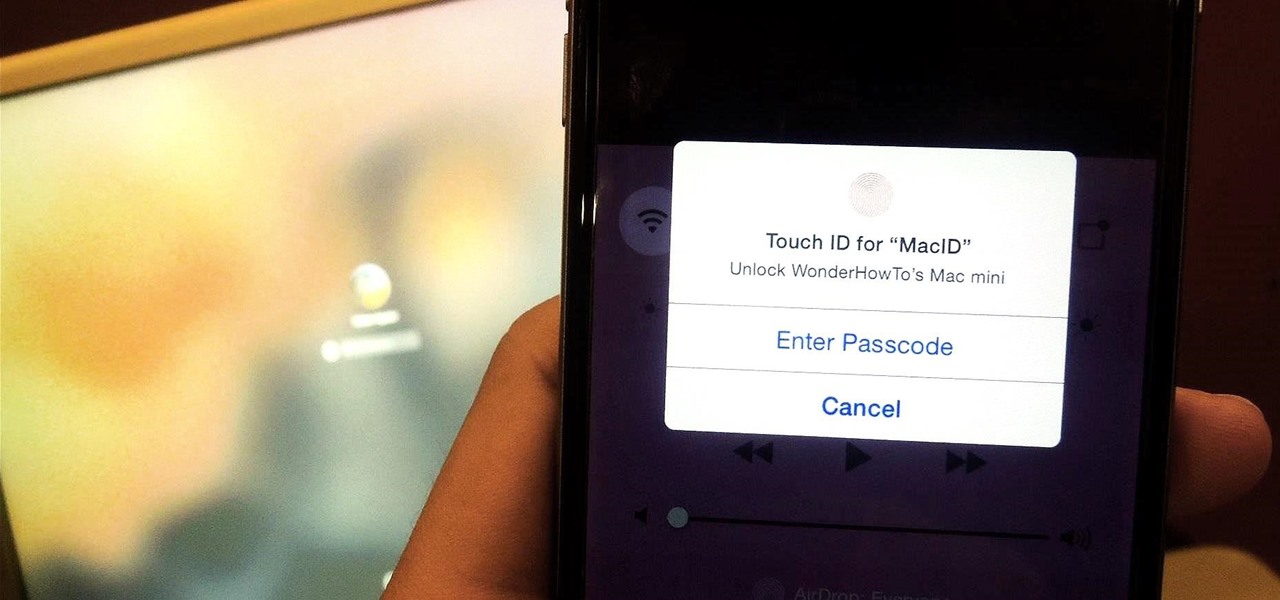
Below you can see the Touch ID popup that appears when you want to unlock your device. You can then either use your fingerprint or your iOS lock screen passcode to unlock your computer.

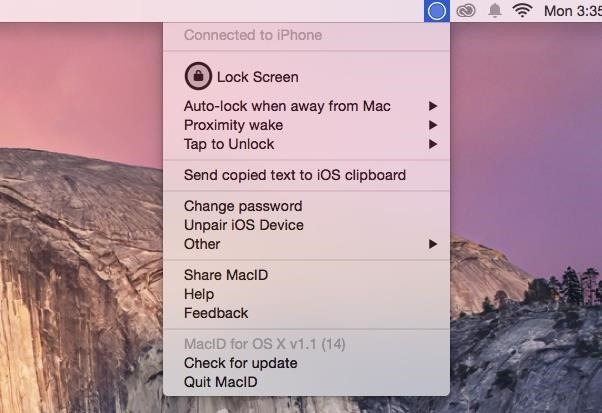
Additionally, you can set up auto-lock and proximity wake, which locks your computer when you leave it's proximity and unlocks it when you come back.
Interested in other automatic-locking features? Check out Near Lock, an app that locks your Mac when you leave and unlocks it when you return, tracking the location of your iPhone.
For more Mac tips, follow Gadget Hacks on Facebook, Google+, and Twitter.
Just updated your iPhone? You'll find new emoji, enhanced security, podcast transcripts, Apple Cash virtual numbers, and other useful features. There are even new additions hidden within Safari. Find out what's new and changed on your iPhone with the iOS 17.4 update.


Be the First to Comment
Share Your Thoughts