

While Apple's Continuity feature has certainly impressed me, I can't help but feel like it could be used to create a better connection between my iPhone and Mac. Sure, Handoff allows me to pick up where I left off in certain applications between the two devices, and it lets me pick up calls and send text messages on my Mac, but I want even more functionality.
Thanks to Brian Byrd, from the blog Brian's Bits, I'm going too show you how to set up a script so that you can control iTunes and put your Mac to sleep simply using Siri on your iOS 8 device.
Prerequisites
Before we start, you'll need to have the following:
- iPhone or iPad with iOS 8 installed and Siri enabled
- Mac that supports Continuity's Handoff
Step 1: Set Up Continuity
If you don't already have Continuity and Handoff set up between your iOS device and computer running Mac OS X Yosemite, check out our easy-to-follow guide on doing so.
Step 2: iCloud/Notes Synchronization
You'll need to use the Notes app in order to send commands to your Mac with Siri, so you'll need to sync the app between your two devices.
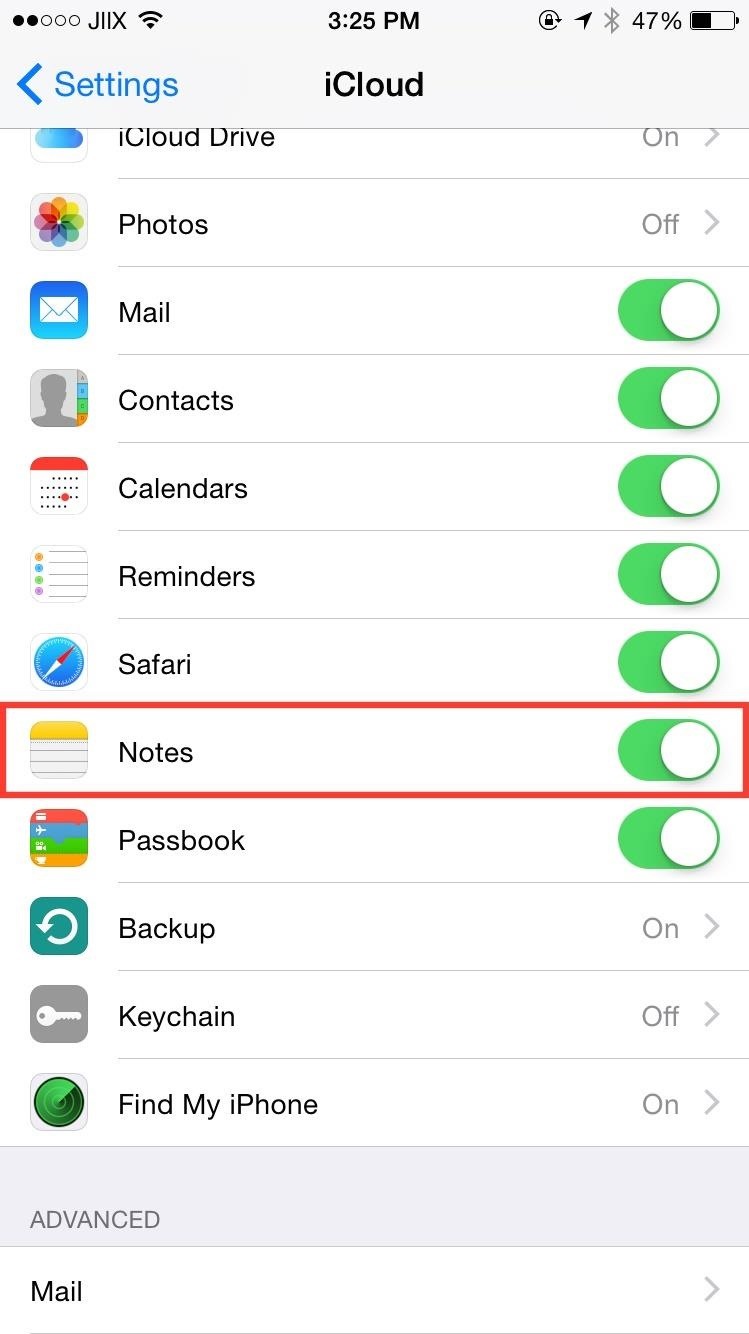
On Your iOS Device:
Go to Settings -> iCloud and make sure that "Notes" is enabled.

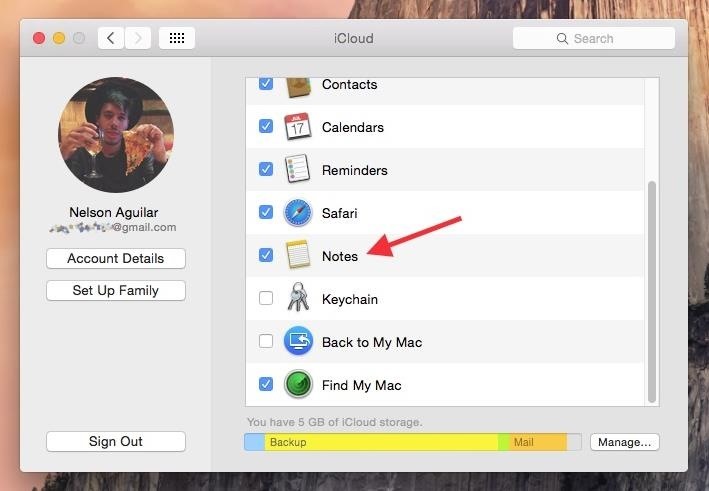
Now on Your Mac:
Go to System Preferences -> iCloud and check the box next to "Notes."
Step 3: Test Out Notes with Siri
Using Siri on your iOS 8 device, create a note by saying "Create a note called ____" and use any word to test it out. I asked Siri to create a note called "pizza."

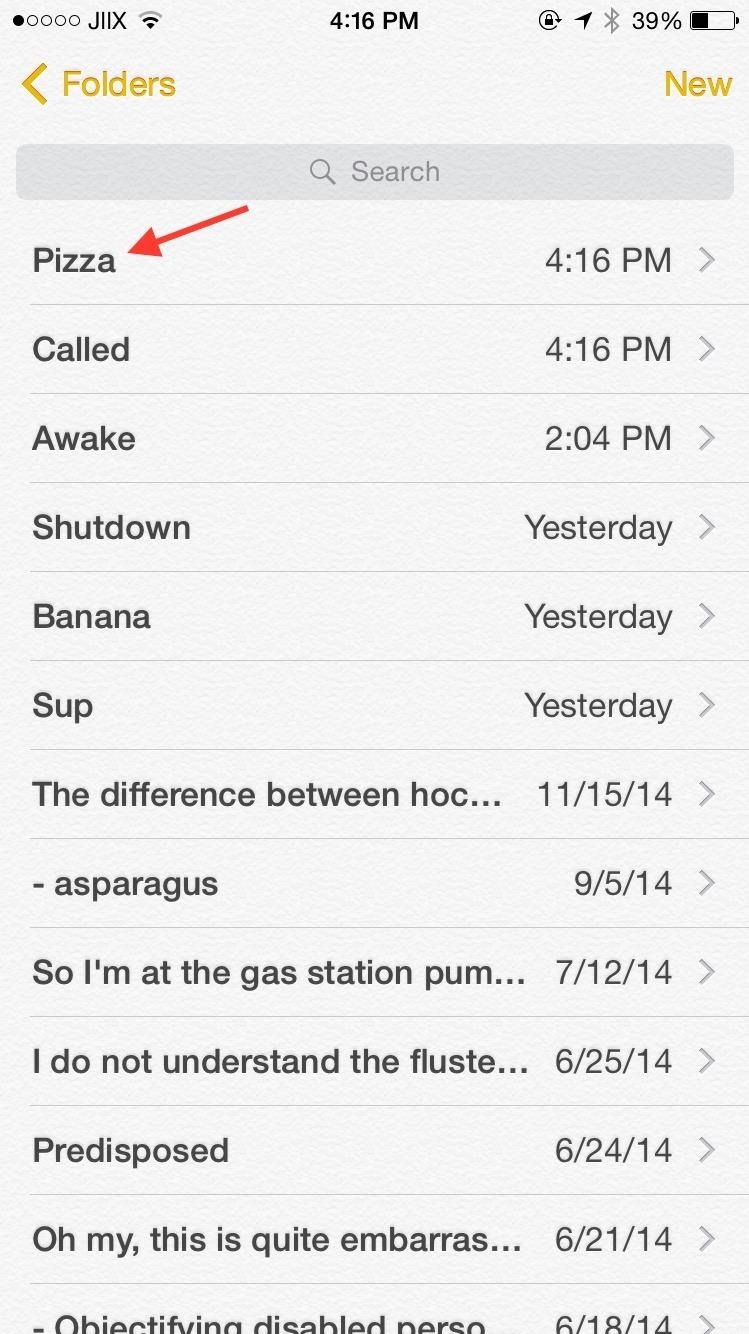
Now open the Notes app on your Mac to check if the note appears (give it a few seconds if it doesn't appear right away).
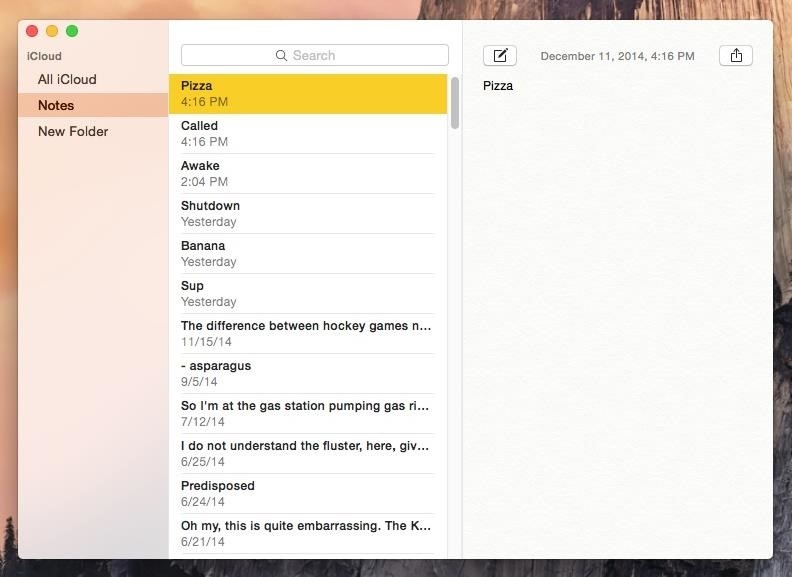
The titles of these notes are what you'll be using to control your Mac. Once you've verified that Notes are synced between your devices, head to the next step.
Step 4: Download the AppleScript File
Download the following script file, courtesy of Brian, onto your desktop. I suggest right-clicking on the link and selecting "Save Link As" to download it. This should keep the AppleScript file format extension (.scpt) intact. If you try to save it by clicking on the link first, you may get an added .txt extension for some reason. If so, just delete the .txt part from the downloaded file.
Step 5: Turn the AppleScript into an App
This script will push commands you ask Siri to do onto your Mac. Once it's on your desktop, open it through Script Editor.
Go to File -> Export and make sure to change the File Format to "Application," then check the box next to "Stay open after run handler."
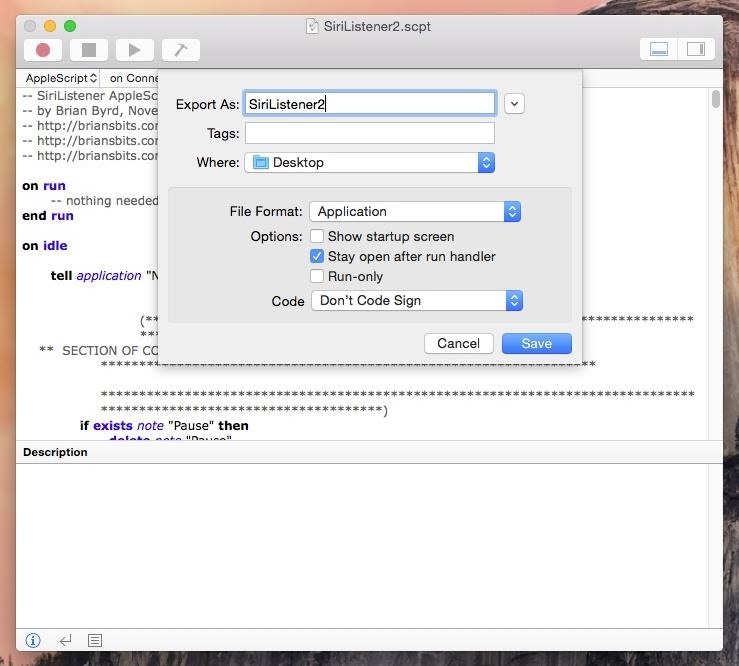
Save it and the result should look like this:

Step 6: Edit Playlist Commands (Optional)
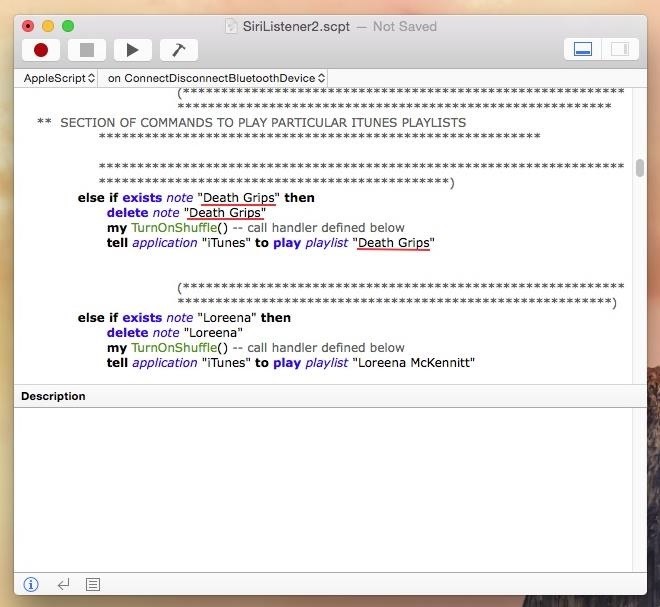
Inside the script you'll find commands that will play playlists in iTunes. While these commands are for the playlists the developer was using, you can easily change it so that it fits yours.
Using Script Editor, find the section of commands in the script that are used to play iTunes playlists. In the commands (which start with else if), change what is in each underlined quote to your playlist's name. I have a playlist called "Death Grips," so that's the command I'll be using to play it.
If your playlist titles are too long or complicated, make them simple. Siri might not understand them, so one or two word titles make it easier for them to be recognized. When you're done making edits, save the script and export as an application just like in Step 5. If you already saved the app from the previous step, just save over it or rename it.
Step 7: Run SiriListener2 & Make a Siri Command
Now that you've edited your script, it's time to use Siri to control your Mac. Open the SiriListener2 application on your your computer, as you'll need it running in the background for this to work.
On your Mac, open up iTunes, and on your iOS 8 device, use Siri to write a note entitled "play" to test out if everything works. If it does, a song on your iTunes will play as soon as the note is written.

You can issue any of the following commands:
- Play: play a song in iTunes
- Pause: pause a song in iTunes ("paws" will also work here)
- Back: go back a song in iTunes
- Next: skip a song in iTunes
- Louder: increase volume by 10 in iTunes
- Softer: decrease volume by 10 in iTunes
- Name of playlist: play that playlist
Aside from iTunes controls, you can also control your Mac itself. Just tell Siri to write a note called "Sleep" to sleep your computer. If you've got some expertise in writing scripts, you can edit SiriListener2 to connect/disconnect Bluetooth devices and perform other shell script commands.
Pair this functionality with the "Hey Siri" jailbreak tweak and you've got yourself a completely hands-free method of controlling iTunes and putting your computer to sleep. If you run into any issues, drop us a comment below and we'll be glad to help. Otherwise, enjoy!
Just updated your iPhone? You'll find new emoji, enhanced security, podcast transcripts, Apple Cash virtual numbers, and other useful features. There are even new additions hidden within Safari. Find out what's new and changed on your iPhone with the iOS 17.4 update.


2 Comments
Great stuff BTW! In my testing on a Mac that does not support Continuity - there is no need for a Continuity supported Mac. Mind you I only tested a few of the functions (iTunes, etc) - but the Applescript itself doesn't really require Continuity and the syncing of the Notes app happens with iCloud and does not require Continuity. Great stuff BTW!
Oh really? That's awesome!
How long did it take iTunes to process the command when telling Siri to write the note? Was it instantaneous?
Share Your Thoughts