
Are You Getting Startup Disk Full Warning on your MacBook? Here are 8 Tips to increase your storage Space
As time goes on we download and store more and more files on our Macs. After a while, our hard drives fill up and the inevitable warning pops up. First, don't freak out. This happens to everyone. As a computer user, you will download and store all sorts of files on your computer like pictures, videos, and songs.
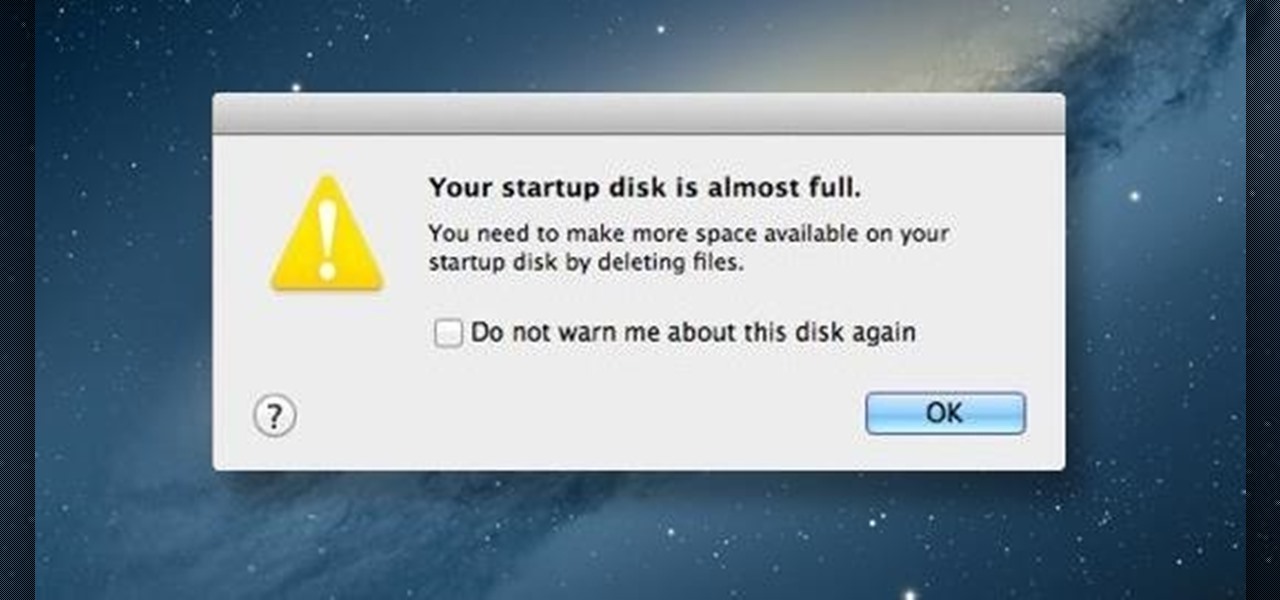
Over time the disk space decreases until finally we get the following message:
"Your startup disk is almost full. You need to make more space available on your startup disk by deleting files."
Once this message occurs, it's time to do something about it. You could either look to a simple-to-install storage module (not a hard drive), but a semi-permanent option like a TarDisk, or you could try several methods that clear up space on your HD. If you don't do anything about it, you will most likely see and feel a drop in your computer's performance. Many programs use the available free disk space to run. Often these programs will keep a few files offline to work in the background, but when we close those apps or websites, they delete the files automatically. However, if there is no free space, your computer's performance can be significantly reduced.
Here are a few steps you can take to quickly and easily free up the space on Mac OS X.
Step 1: Delete Unwanted Applications and Games:
Over time we inevitably download and try out applications and games that interest us. Often times however many of these apps are unused and end up just taking up space. The best way to manage this problem is to look over installed apps every 2-3 months and remove unused and unseeded apps.
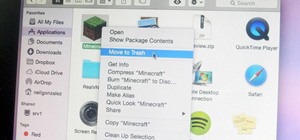
To delete an application just locate it in the Applications folder and then drag it to the Trash Bin. Alternatively you could right click the application and click "Move to Trash." A third option is to use Launch Pad to delete your apps. Similar to the iPhone, Click and hold an app on the Launch Pad — the apps will start to wiggle and a small "X" will appear in the top left corner. Click the X for any apps that you want to delete.
Sometimes an app may come with a built-in uninstaller. Make sure to use it first before applying the above mentioned methods.
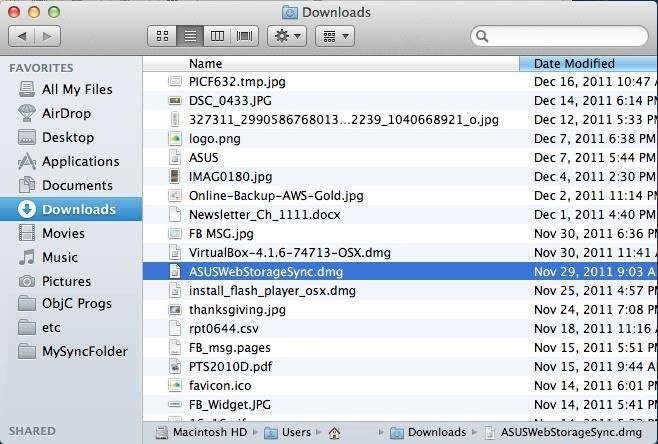
Step 2: Delete the Files from Download Folder:
The downloads folder is a prime culprit for excess stuff, clogging up your hard drive. As we download files and apps they land in the Downloads folder, but then we copy them or install them into our organization hierarchy, all the while the original files remain in our downloads.
First, ensure that you are done with these files. Then go ahead and move these files to the trash for deletion
Step 3: Empty the Trash Bin:
On Mac OS X, files that we choose to delete go into the Trash Bin before being permanently deleted. There is no easy way to delete things immediately without putting them in the trash bin first.
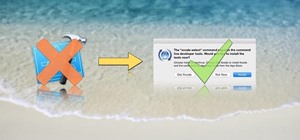
You could get around the Trash Bin step by using a custom command. But we won't recommend it for general users.
The Trash Bin in OS X is not your junk or deleted files' folder like in Windows. Rather, it is a place for us to put files aside before permanently deleting them. Files in the trash bin still consume HD space, so unless you empty the trash bin, you're not saving space by storing files here.
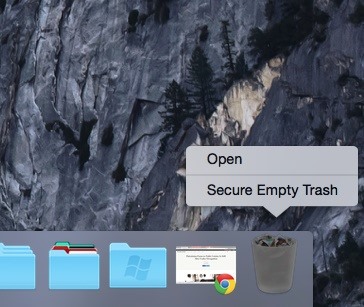
Files in the trash bin can be delete individually or all at once by right clicking the Trash Bin icon and clicking "Empty Trash". But remember: files erased in this manner may still be available unless the pertinent disk sectors are overwritten by other files. In order to completely erase files from your disk drive use the following method:
First, right click on the Trash Bin icon.
Now press the "Command" button on your keyboard.
The "Empty Trash" option will change to a "Secure Empty Trash".
Click on it and all the files in your Trash Bin will be erased without leaving behind any traces.
Keep in mind this trick will empty your entire Trash Bin permanently, and you cannot recover these files.
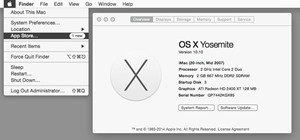
Step 4: Install Updates:
Sometimes OS X automatically downloads updates for you but doesn't install them until you tell it to do so. These updates are often quite large and can often be in the GB range. If they're not installed they're taking up space unnecessarily. It is always better to install updates as soon as possible in order to free up space.
Step 5: Check the /Application/Support Folder
Some files, especially related to games, are stored in this folder. Even if you played a game just once, it could have still stored a support folder in this directory. Navigate to this location and remove any unwanted support folders to clear up excess space clogging files.
Step 6: Re-Launch Apps and Clear Cache:
Some applications and even websites store files on the local storage drive for quick access so that we don't have to reload them from the server. Due to continuous use of these apps, the size of the stored files can sometimes reach up to many GBs. It is always recommended to quit the apps and re-launch them if you suspect any performance issues during use in order to clear these local caches.
Step 7: Reboot Mac:
Many users, including me, don't shut down their computers for weeks at a time. Often times I just close the my lid and put it to sleep for the night. It may save a lot some time when you wake up your Macbook, but this method may also affects the performance of your computer over time. It is best to shutdown your MacBook properly ever 1-2 weeks. Not only will this improve performance but it will also allow updates that require reboot to be installed. Moreover, other junk files are cleared out and reset when you restart your computer.
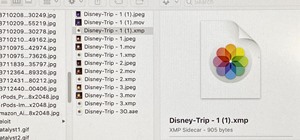
Step 8: Clear the Photos App "Recently Deleted":
In the new Photos app, when you delete a photo it goes to a folder called Recently Deleted, just like your iPhone. Each file automatically deletes itself after 30 days, but until then it sits on your HD. If you want these files deleted immediately click "file" from the menu bar, then choose "Show Recently Deleted". Click the "Delete All" button in the upper righthand corner to delete them all, or you can pick and choose individually by right clicking and selecting "Delete 1 photo."
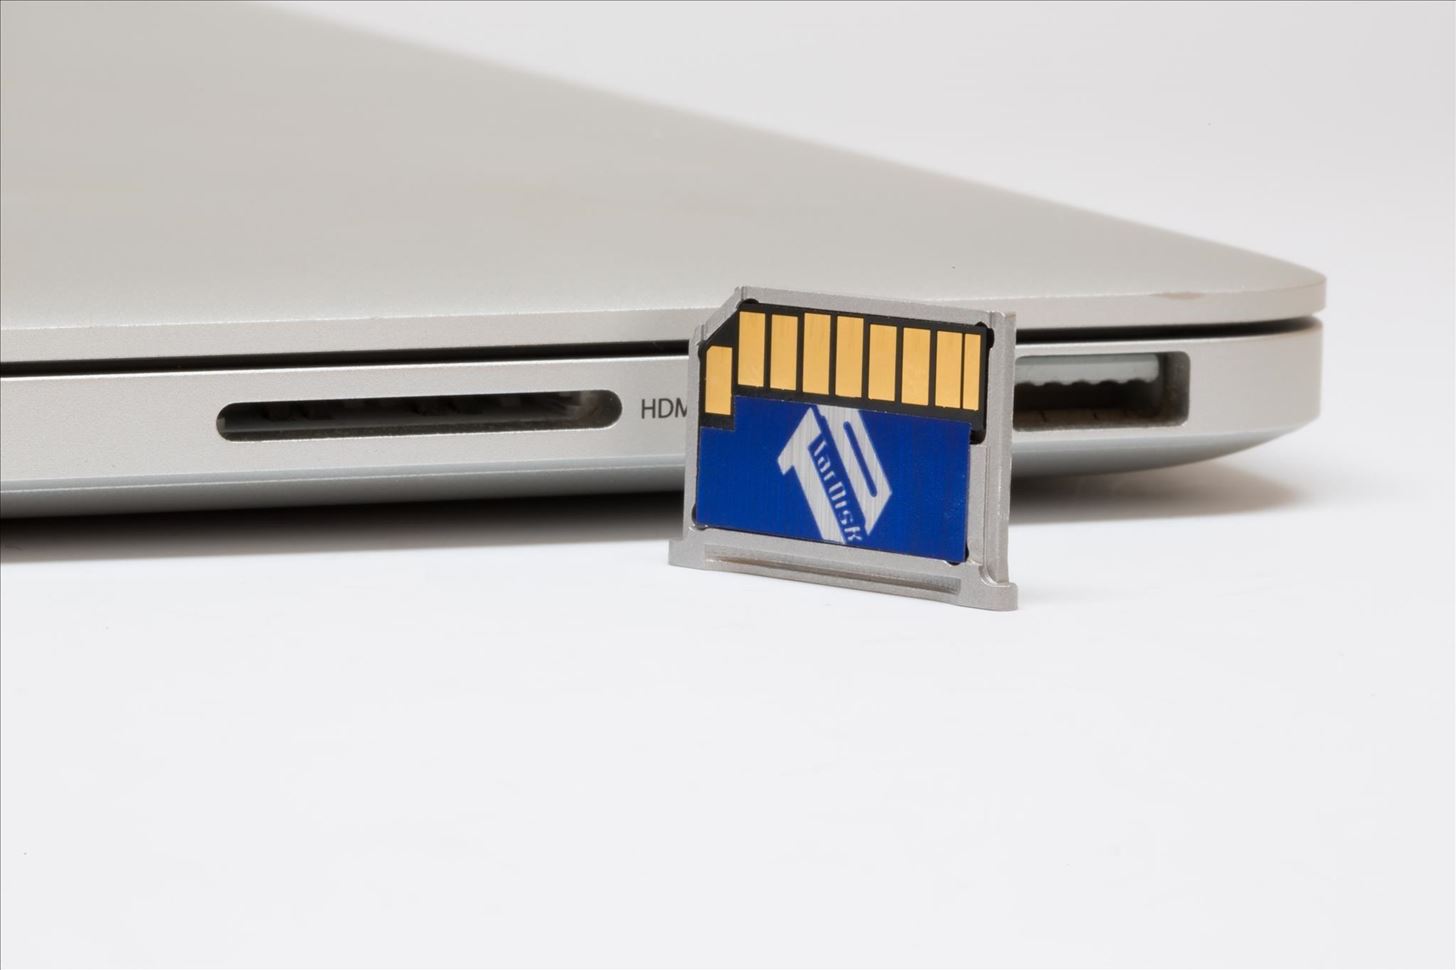
Step 9: Buy on Board Storage
If these steps don't clear up enough space, or you want to keep all of the files you have on your computer, the best solution to increasing your disk space is using an onboard flash module. These devices sit flush in your rarely used SD slot and take advantage of flash speeds. TarDisk is the best one and I use one in my 15" Retina MacBook Pro! Good luck!


Be the First to Respond
Share Your Thoughts