
Apple has been one of the biggest trolls when it comes to adding new features to their software. Whether its adding a new boot screen and not letting all devices use it, or adding Dark Mode and making it a hassle to toggle on and off, there is always to be a caveat attached to each new addition.
Unlike the official process, NinjaMode activates Dark Mode by clicking on a Batman inspired icon on your menu bar. Since the Mac App Store won't host this shortcut, the developer, Nirbhay Agarwal, maintains all updates through GitHub.
Step 1: Download NinjaMode
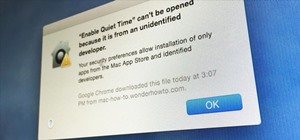
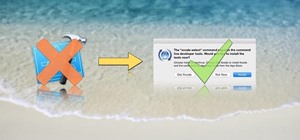
After downloading the archive linked below, unzip it and drag NinjaMode.app to your Applications folder. Since it's not in the Mac App Store, you may need to adjust your Mac's security settings before using it.
Step 2: Auto-Start NinjaMode (Optional)
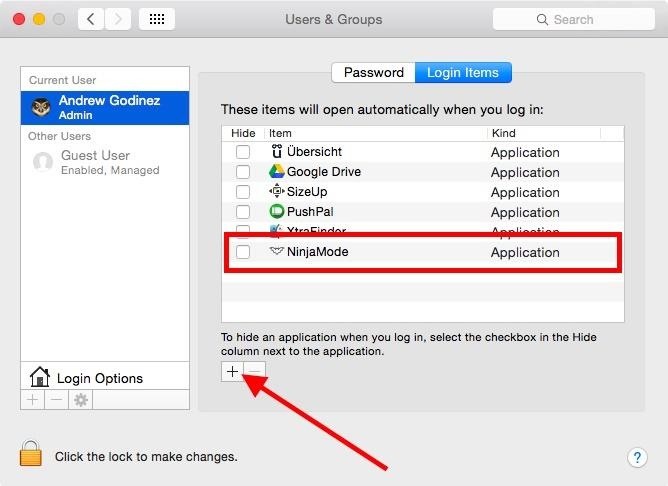
The only downside to NinjaMode is that it needs to be started before you can use it, but you can always add it to your Login Items to have it start whenever you boot your Mac. To do that, open System Preferences -> Users & Groups, then add NinjaMode to your Login Items.
Step 3: Activate NinjaMode
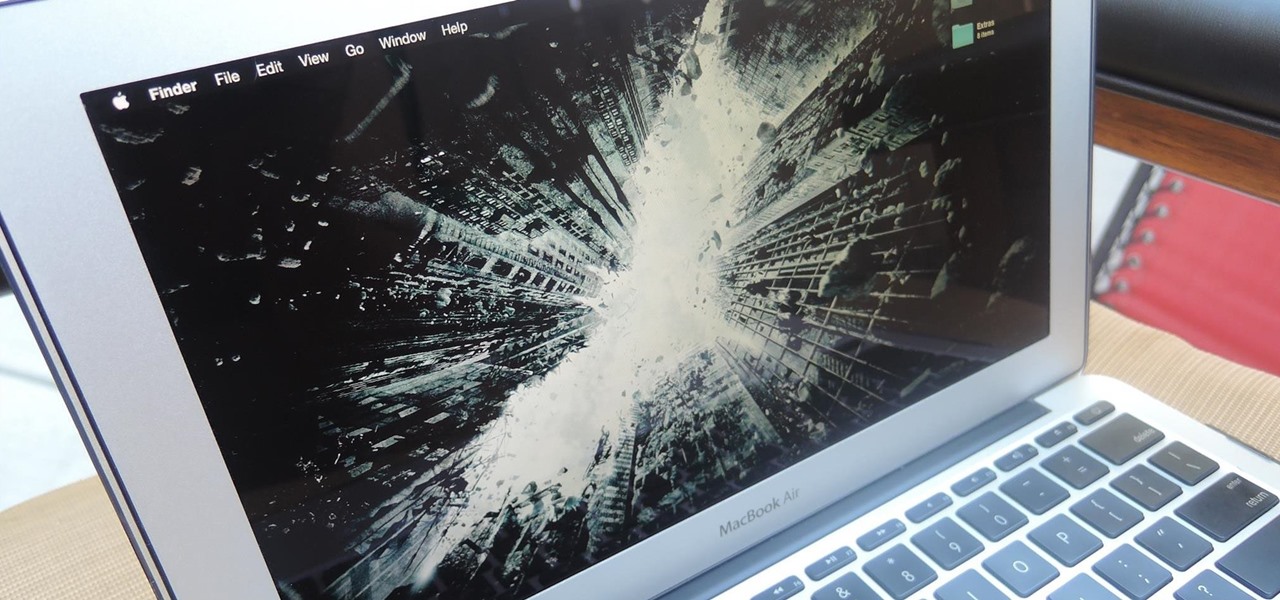
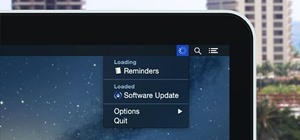
After launching NinjaMode, no window will pop up, but you will see a new Dark Knight icon in the menu bar.
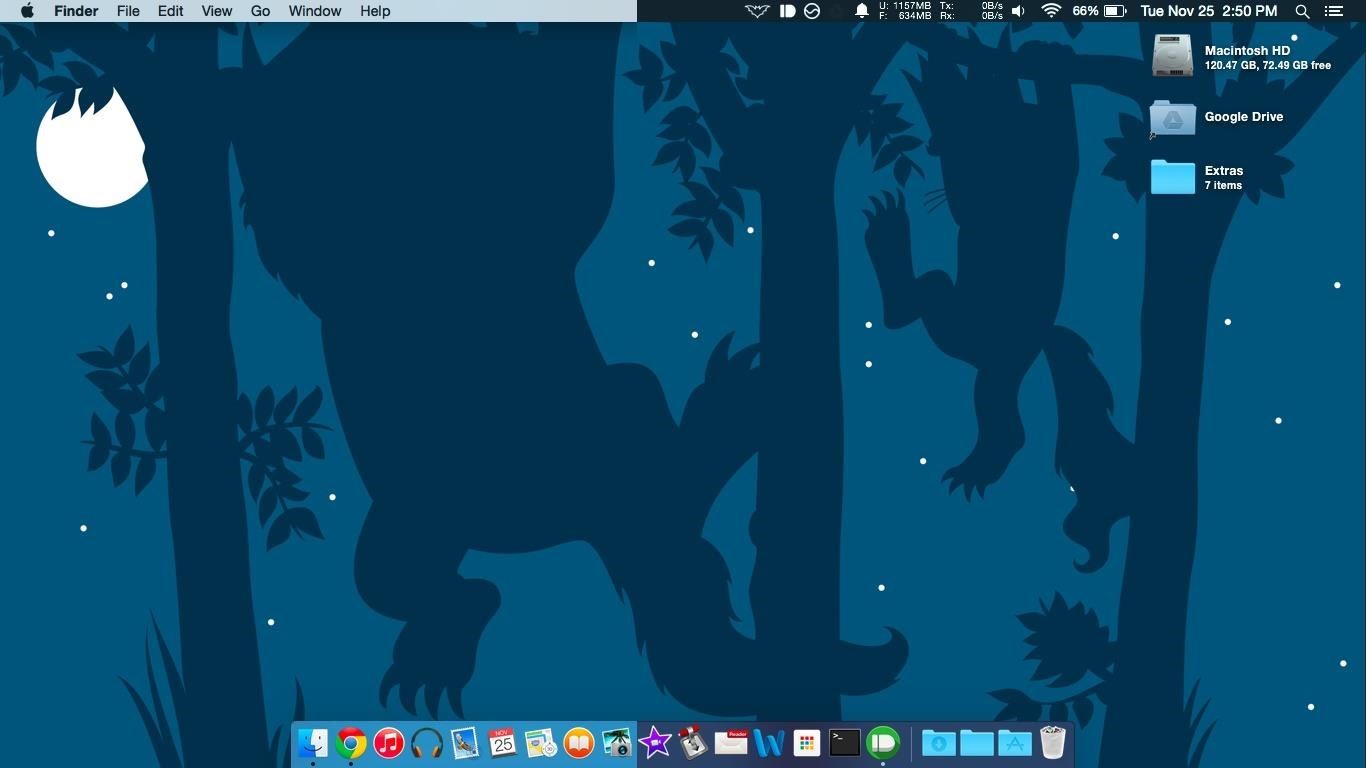
Now whenever the icon is clicked, you will instantly switch between Dark and Normal modes on Mac OS X Yosemite. Much easier than doing it through System Preferences, as you can switch instantly, on-the-fly. Let us know what you think in the comments below.
Just updated your iPhone? You'll find new emoji, enhanced security, podcast transcripts, Apple Cash virtual numbers, and other useful features. There are even new additions hidden within Safari. Find out what's new and changed on your iPhone with the iOS 17.4 update.


Be the First to Comment
Share Your Thoughts