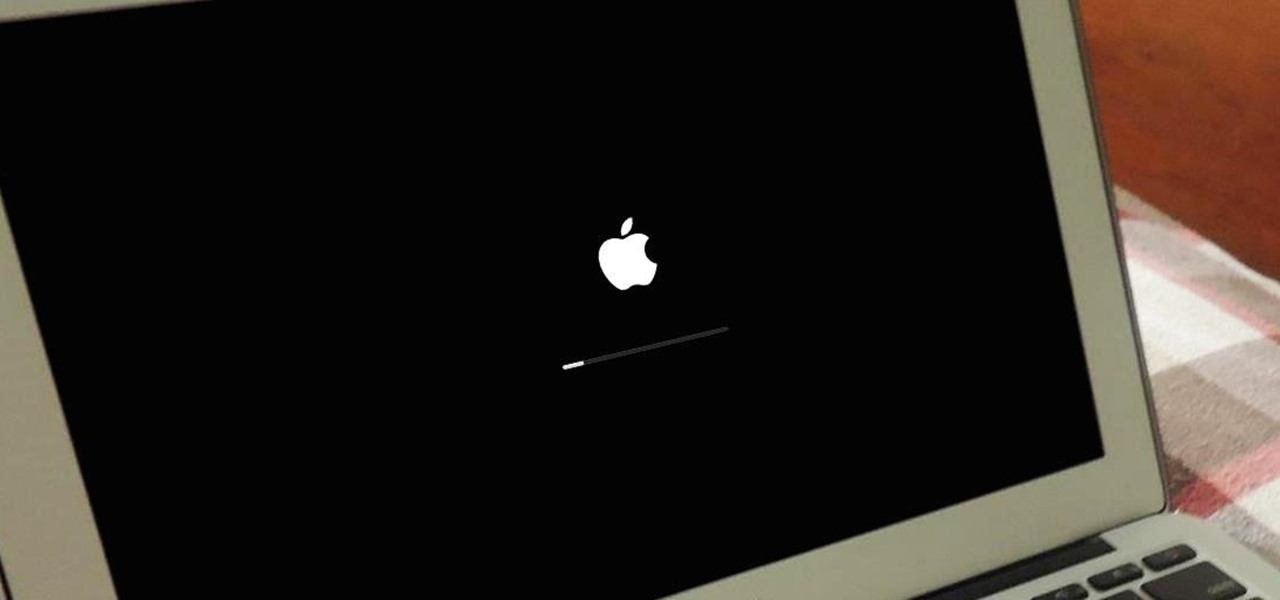

When Yosemite was released, a more detailed boot screen came to your Mac. So now, just like on Apple's mobile devices, you will see a loading bar telling you how far into the startup process you are. Apple also decided to add a black version of this boot screen to newer Macs, leaving those of us who purchased a computer before 2011 out of the loop.
I have always been a fan of "more" in terms of aesthetic changes, so when I came across the work of Manic Harmonic and his method of enabling the black boot screen on any Mac, I knew I had to have it on all of my devices.
Originally this process required you to modify some system files using a hex editor, but thanks to w0lfschild and some Apple script magic, we now have an automated way to get this dark boot screen with minimal effort.
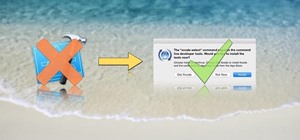
Know that this hack has the potential to really screw with your machine if you aren't careful, so use your preferred backup software to make a fail-safe, and follow the instructions carefully.
Step 1: Download & Unzip Script
Since this mod would never be hosted on the Mac App Store, you will need to download the DarkBoot archive and unzip it to your Mac's desktop. You should also move the DarkBoot.command file within the unzipped folder to your desktop to make the next few commands easier.
Step 2: Make the Script Executable
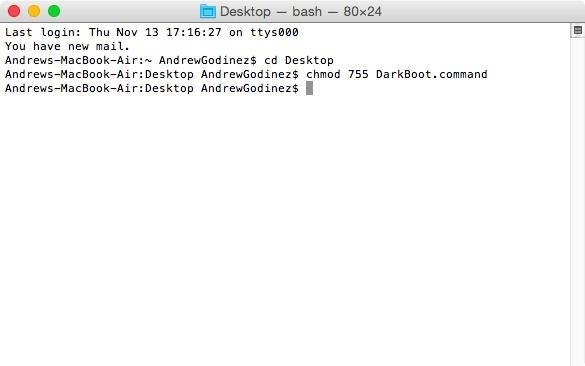
Before the script can function properly, it will need to be made executable. To do this, open up Terminal and type the following commands:
- cd Desktop
- chmod 755 DarkBoot.command
Now close Terminal and your script will be all set.
Step 3: Run Command
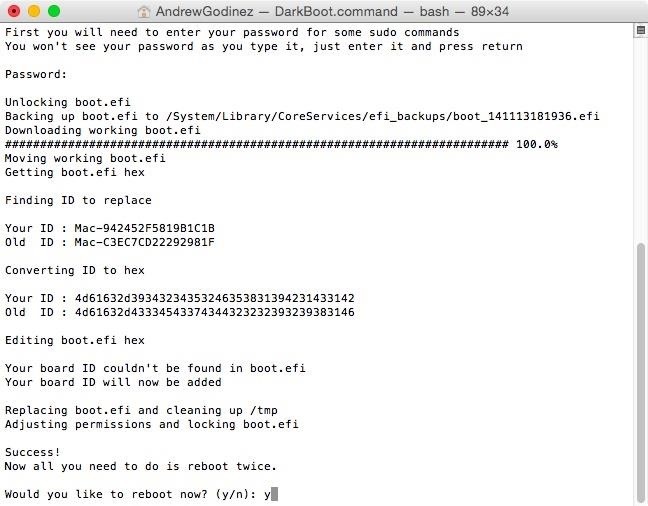
You can run the script by double-clicking the Darkboot.command file. It will ask for your password in Terminal before it proceeds, so input it when prompted.
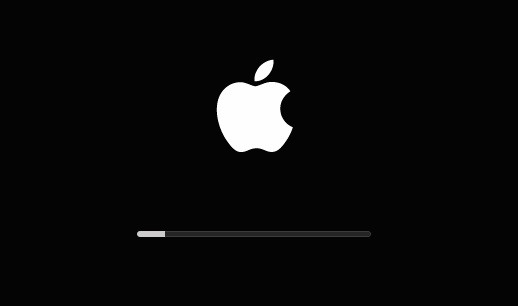
Step 4: Reboot Your Mac
That's pretty much all there is to it. To see the change take effect, you will need to reboot your device two times—not just once.
Step 5: Going Back to Normal (Optional)
Note that this will not work with devices running anything other than Yosemite, so if you ever downgrade back to Mavericks, you will need to revert back to the original boot screen.
The script made a backup of your original boot.efi file before tweaking it and placed it in /System/Library/CoreServices/efi_backups/. Find your original file, place it on your desktop, then rename it to "boot.efi" (without quotes) and run the following five commands in Terminal:
- sudo chflags nouchg /System/Library/CoreServices/boot.efi
- copy the original backup to /System/Library/CoreServices/boot.efi
- sudo chmod 644 /System/Library/CoreServices/boot.efi
- sudo chown root:wheel /System/Library/CoreServices/boot.efi
- sudo chflags uchg /System/Library/CoreServices/boot.efi
Future Updates
It is possible that a future update to Yosemite will revert you back to the normal boot screen, but as of right now, it is compatible on 10.10 and 10.10.1 versions. I will also be sure to update this guide with the newest version of the script to avoid incompatibility issues.
Until then, enjoy your new dark boot screen, and let us know what you think of it in the comment section below.
Just updated your iPhone? You'll find new emoji, enhanced security, podcast transcripts, Apple Cash virtual numbers, and other useful features. There are even new additions hidden within Safari. Find out what's new and changed on your iPhone with the iOS 17.4 update.


4 Comments
it does not work for 10.10.3 when i try it brings up disk utility on boot
Yes, don't try this with 10.10.3, it will make your system unbootable. ...would be nice if the the developer of this hack could check this.
this tutorial block the system of yosemite 10.10.4 i try with my macbook is blocked now no system
can you make this work with mavericks 10.9.5 for hackintosh
Share Your Thoughts