
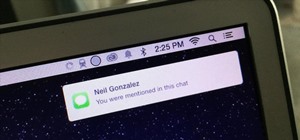
You're in a Zoom meeting, and you're click-clacking away at your keyboard, typing important notes from the call. More realistically, you're doing something unrelated to the meeting, such as browsing the web, playing a game, or messaging friends. Whatever it is you're typing, if your microphone is on, everyone on the Zoom call will be able to hear the sound of you typing.
You could always manually turn off your mic when needed, but if you constantly need to switch from speaking to listening to writing things down, having to mute and unmute yourself can get real annoying real quick. With all the switching back and forth, it's totally possible you'll forget to mute your side when it really matters. So why not just automate it to play it safe?
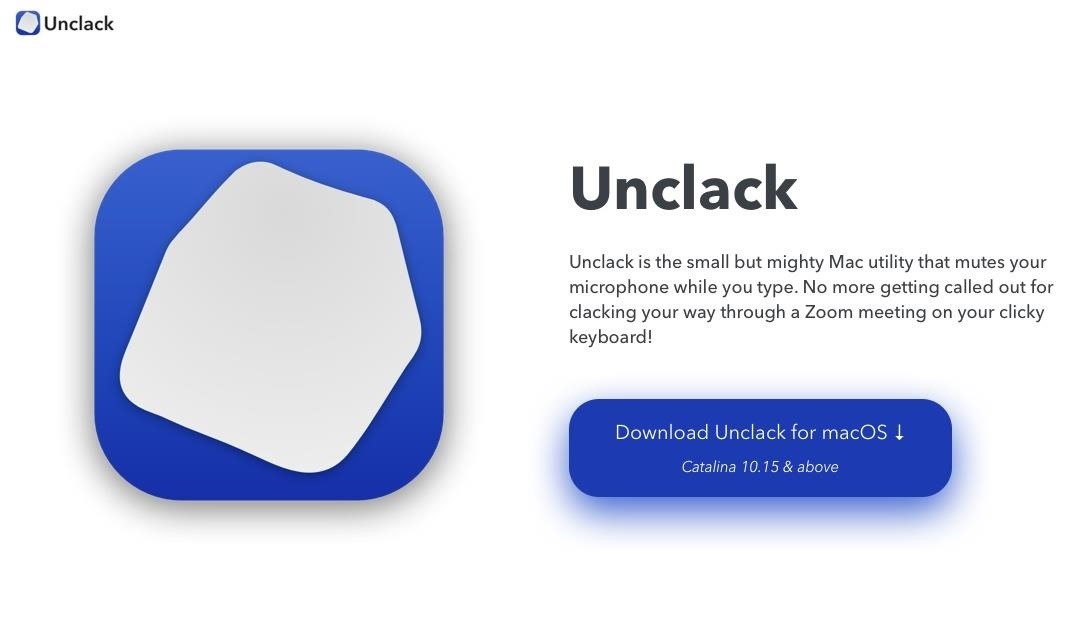
To do that, there's "Unclack," a free utility for macOS that automatically mutes your Mac's microphone when you type on your keyboard.
Instead of everyone on your Zoom call listening to your every keyboard click, Unclack works in the background to mute your mic when you're typing and unmute it when you're not. No matter what type of mic you're using — built-in, AirPods, or headphones — Unclack will silence it with no problem.
Best of all, it works across your entire computer. So, in addition to Zoom, you can use it with other services, such as Skype or Discord. Unclack lives in your menu bar, so you can always quickly enable or disable the service in just a few clicks.
Step 1: Download Unclack
You can download Unclack, which was developed by A.J. Kueterman, from its website or by using the direct link below. If you're doing it from the site, click on the blue button that says "Download Unclack for macOS." You need Catalina (macOS 10.15) or later, so it also works with Big Sur (macOS 11).
- Direct Link: Unclack (free)
Step 2: Install Unclack
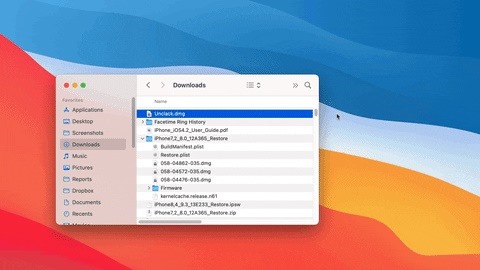
Once the download finishes, find the "Unclack.dmg" file, open it, then drag and drop the Unclack icon onto the Applications folder in the window that pops up. After, you can eject the DMG and delete the file.
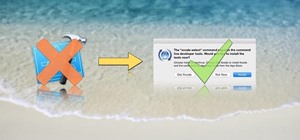
Next, locate Unclack and open it. The first time you open Unclack, macOS will ask you if you're sure you want to open it. All third-party apps not downloaded from the App Store cause this pop-up to appear. To continue, click on "Open."
For Unclack to function, you need to give it accessibility access on your Mac. Unclack is essentially a keylogger, so it needs to know when you're typing. To do that, it needs keyboard access. While keyloggers usually get a bad rap, Unclack isn't doing anything harmful or malicious since it's not actually "logging" any keys — it's just detecting keystrokes. None of the information you type is stored anywhere or sent to a third-party. For more information, check out Unclack's Privacy Policy.
On the window that pops up, click on "Open System Preferences." On the Security & Privacy page in System Preferences, click the lock in the bottom left and use Touch ID or your password to unlock it. Next, click the box next to Unclack to give it accessibility access. That's it. You can click the lock to relock it, but as soon as you close System Preferences, it'll lock itself anyway.
Step 3: Enable Unclack
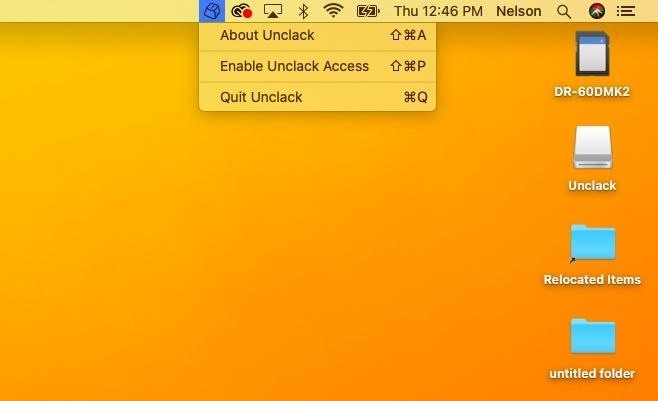
You're now finished with setup and can finally use Unclack. In the menu bar, you'll see a new icon for Unclack, which looks like a keyboard key. Click it, then click "Enable Unclack Access" to begin automatically muting your microphone when you type.
Step 4: Use Unclack
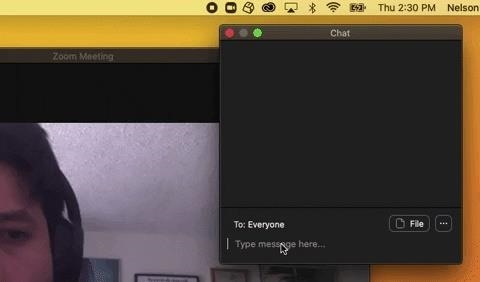
Anytime you type on your keyboard, you'll notice a tiny red dot appear on the Unclack icon in the menu bar. If the red dot appears, that means your microphone is muted. If there is no red dot, your microphone is on, and everyone can hear you. It's as simple as that, but there are a few more things you should know:
- Unclack doesn't work with several keys, including Caps Lock, Shift, Function, Control, Alt, Command, Escape, all of the F-keys, and Power.
- After hitting the last key in a series, your microphone will remain muted for a couple of seconds as a buffer.
- You can hold down a key for as long as you want, muting your microphone.
- Unclack doesn't work when you type in fields like password fields, Terminal configurations, and other secure keyboard entries.
Step 5: Pause or Exit Unclack
When you're not in Zoom or another video service, you may not want Unclack on and muting your microphone. To pause Unclack from working, simply click on the Unclack icon in the menu bar and then "Pause Unclack." You can also click on "Quit Unclack" to close the app completely. To resume Unclack, you can either click on "Resume Unclack" if you paused it or open the app if you completely exited it.

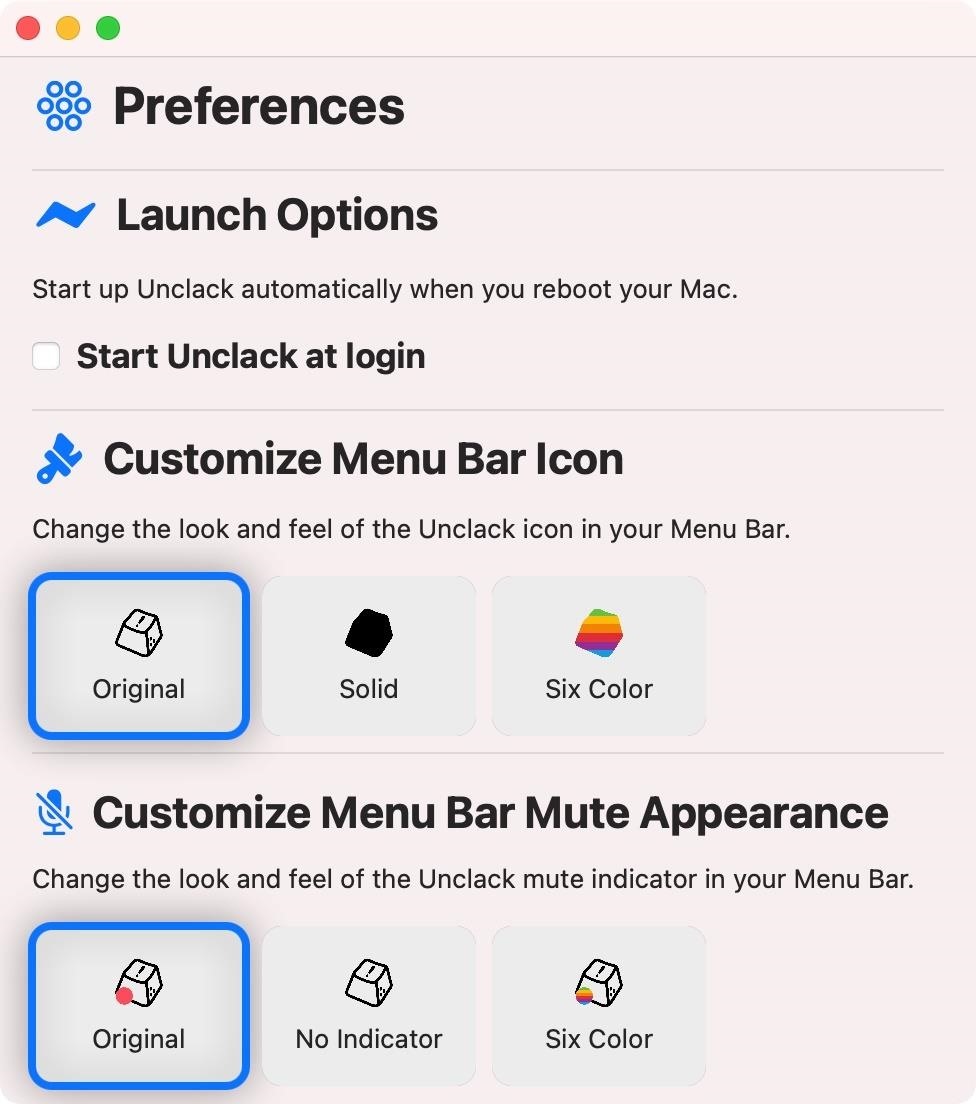
Step 6: Customize the Menu Bar Icon (Optional)
Aside from the features above, you can also customize Unclack's menu bar icon. Click on the Unclack icon in the menu bar, then on "Preferences." A window will appear where you can start Unclack at login and change the Unclack icon and mute indicator in the menu bar.
Just updated your iPhone? You'll find new emoji, enhanced security, podcast transcripts, Apple Cash virtual numbers, and other useful features. There are even new additions hidden within Safari. Find out what's new and changed on your iPhone with the iOS 17.4 update.


Be the First to Comment
Share Your Thoughts