
When a friend asks me what screen recording software is best to use, I always say the same thing—you don't need any! Even though it's been around since 2009, many Mac owners do not realize that they have a powerful screen recording software built right into OS X.
So, if you need to make a screen recording to show a friend how to use Photoshop, or to capture some gameplay footage you want to upload to YouTube, I'll show you how it's done—without spending a dime.
This will also work for recording the screen of your iPad, iPhone, and iPod touch, but more on that later. Just make sure you're running Mac OS X version 10.6 or higher to record your Mac's screen.
Step 1: Launch QuickTime Player
Open QuickTime Player, either from Spotlight, your Applications folder, or Launchpad. Note that this will not work with QuickTime 7 or 7 Pro, so use the QuickTime Player (version 10 or higher) that comes preinstalled.

Step 2: Choose the Screen Record Option
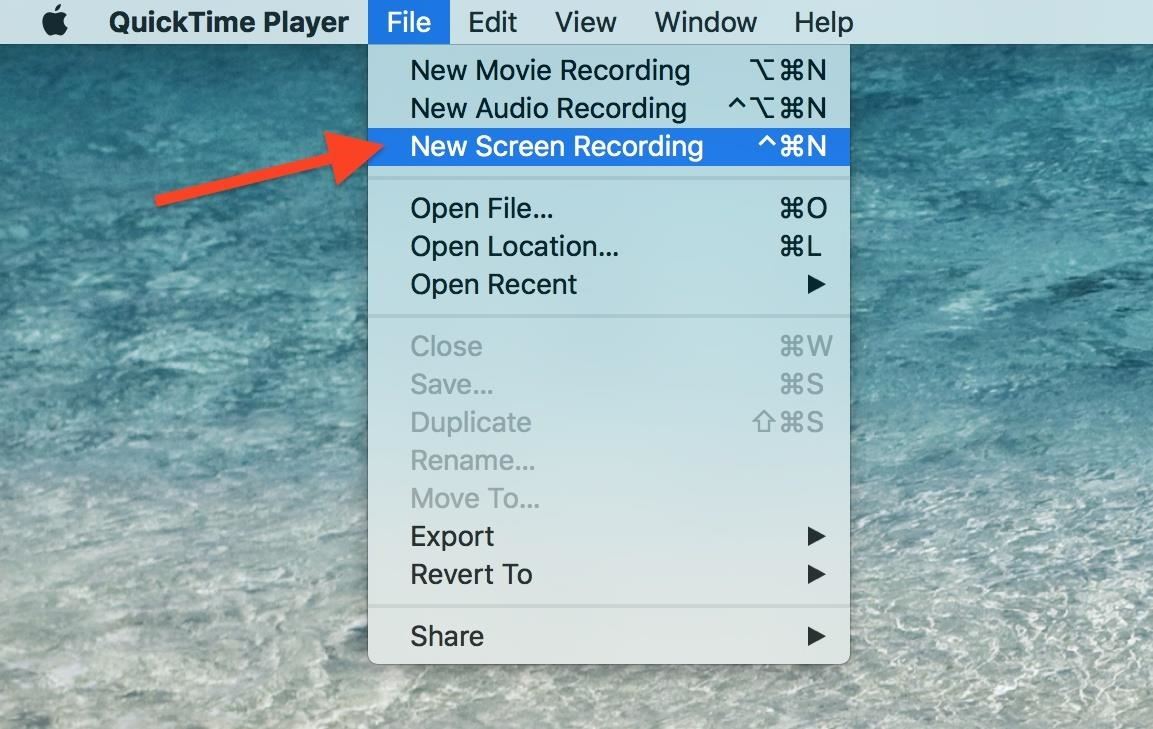
Ignore the Finder popup window that appears and go to File in the menu bar, then choose the New Screen Recording option. (Alternatively, you can use the Control + Command + N keyboard shortcut.)
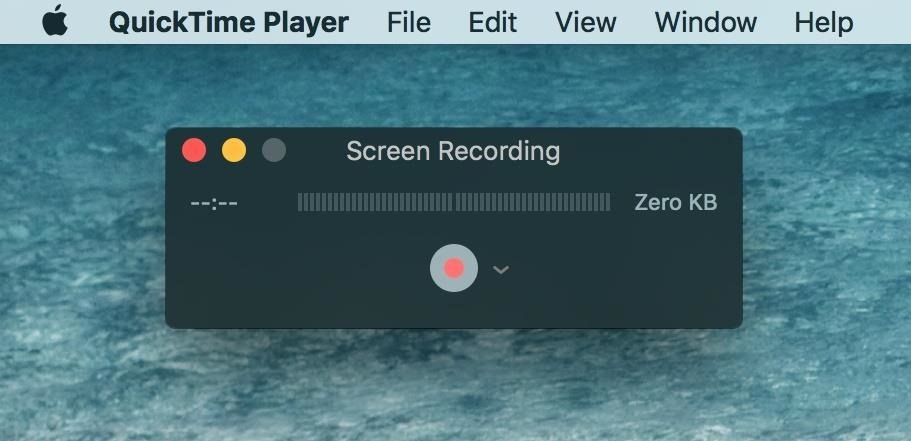
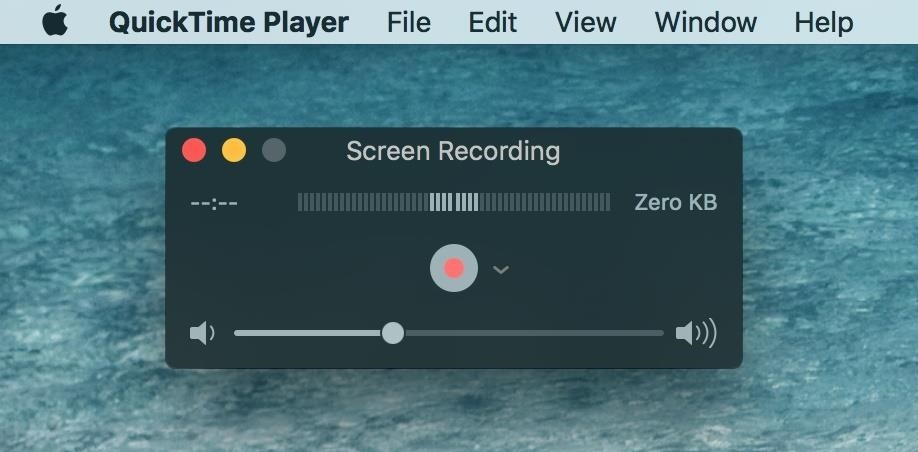
The screen recording window should pop up.
Step 3: Add Audio (Optional)
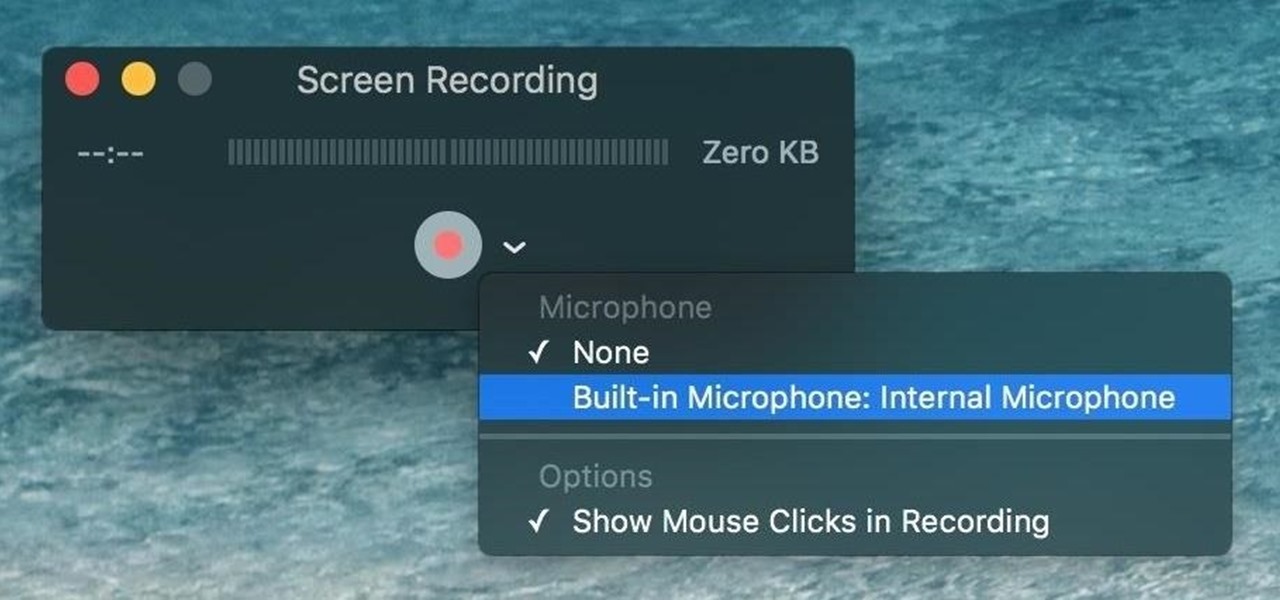
On the right side of the red record button, click the downward-facing chevron to bring up your options.
There's a microphone option that will allow you to narrate as the screen records. If you choose this option, a basic volume meter and slider will be seen in the Screen Recording window, so you can test and adjust sound levels before you actually start recording.
If you don't want to record any audio, then just choose None.
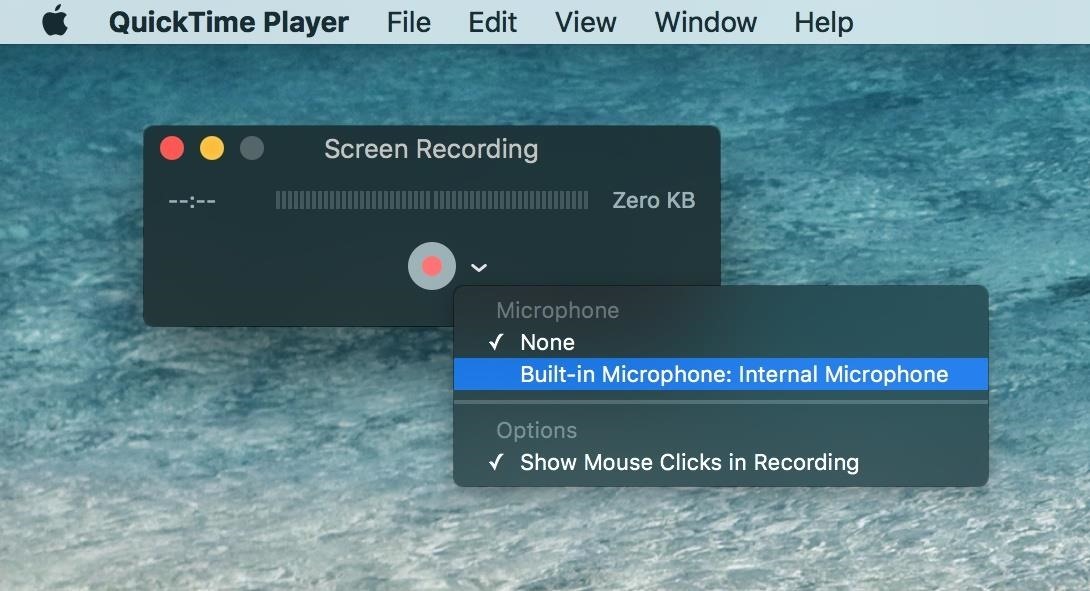
Step 4: Add Mouse Clicks (Optional)
In the available options, you can also set to show mouse clicks. Enabling this feature will not only show the mouse arrow in your final video, but will also show a black circle around the arrow every time the mouse is clicked. If you don't want to see the mouse in your final video, just uncheck this option.

Step 5: Start Recording
When you press the red record button, the Screen Recording window will hide itself, and you will be greeted with the following instructions:
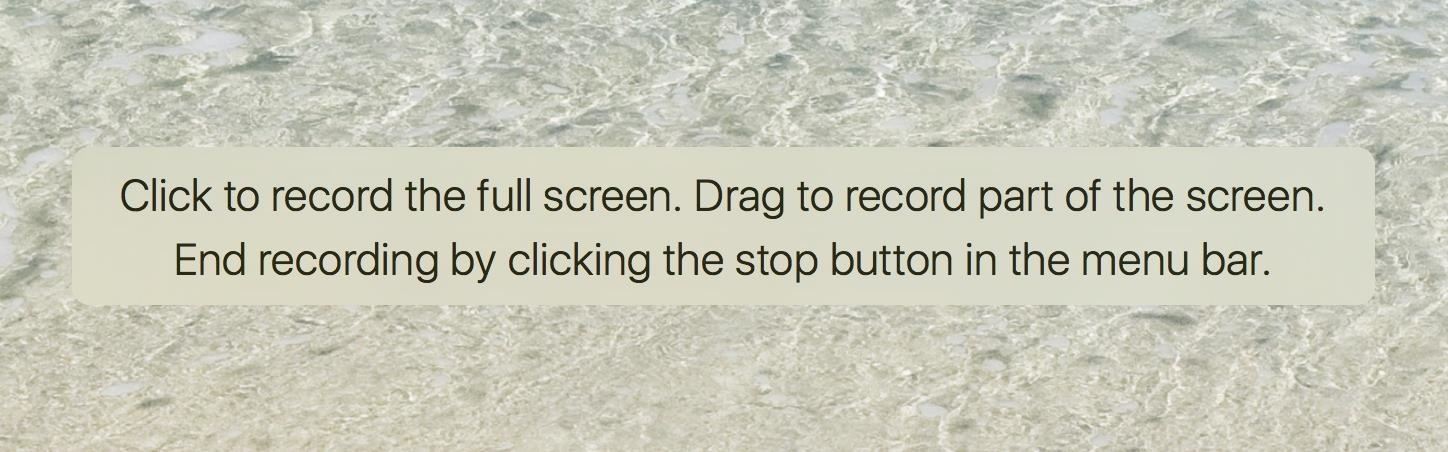
As declared, clicking once anywhere will begin recording the whole screen. (If you have multiple displays, it will begin recording on the display you clicked on.)
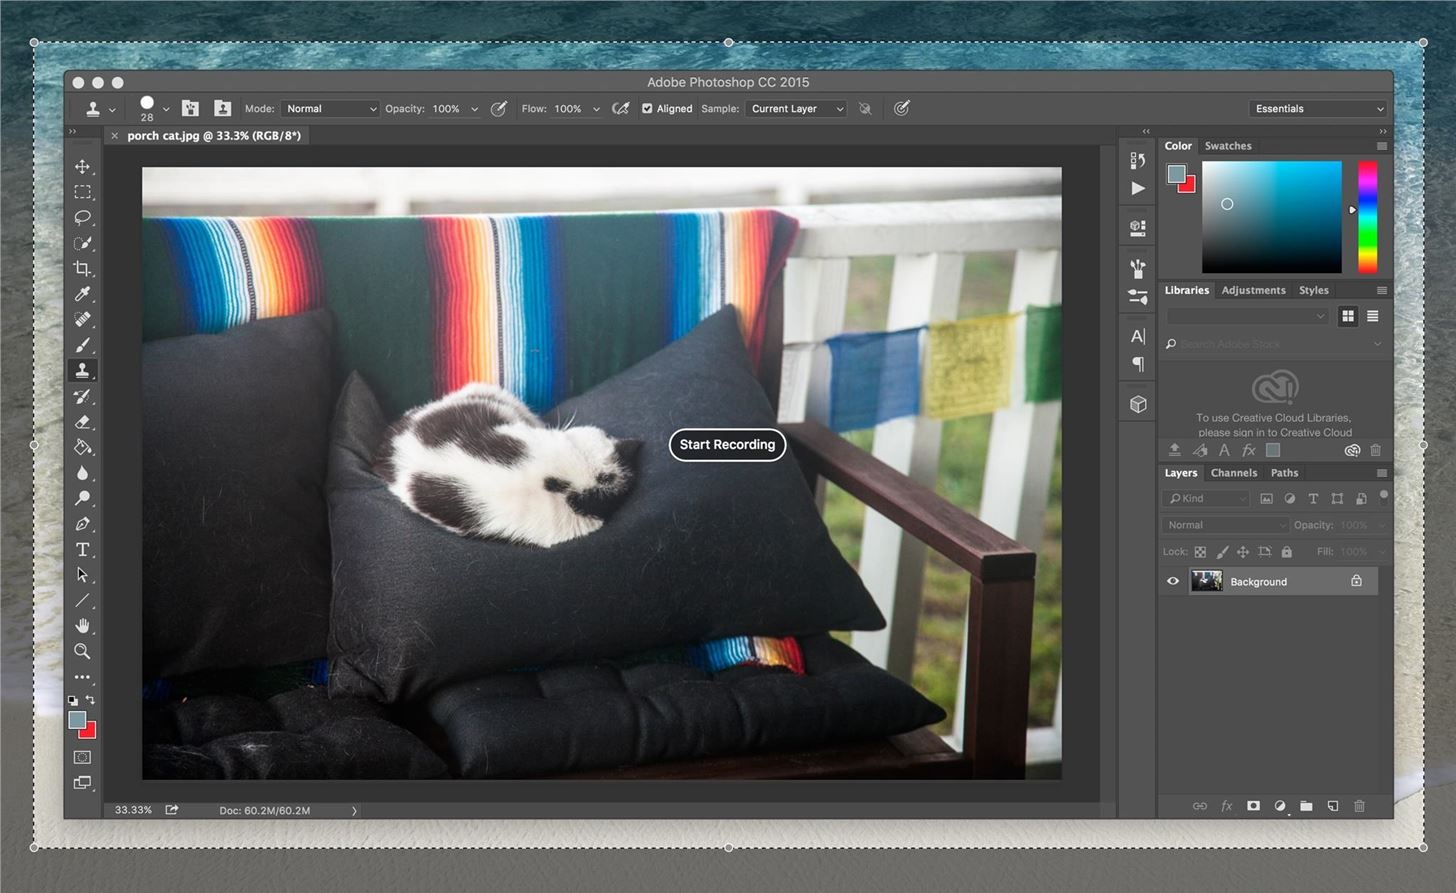
If you want to record a certain area, instead of clicking, just drag around the desired area with your mouse. Once you've adjusted the borders, hit the "Start Recording" button in the middle to begin recording.
Step 6: Stop Recording
Once you hit the stop button in the menu bar, QuickTime Player will stop recording and show you what you have just recorded.

Note About Using the Esc Key
If you press the Esc key before you start recording, you'll return to the Screen Recording window where you can choose your options again.
If you press it while recording, the Screen Recording window will appear again and become a part of your recording. The Screen Recording window will give you information like time elapsed, file size, the volume meter and slider (if also recording audio), and you'll have to stop the recording directly from there instead of the menu bar.
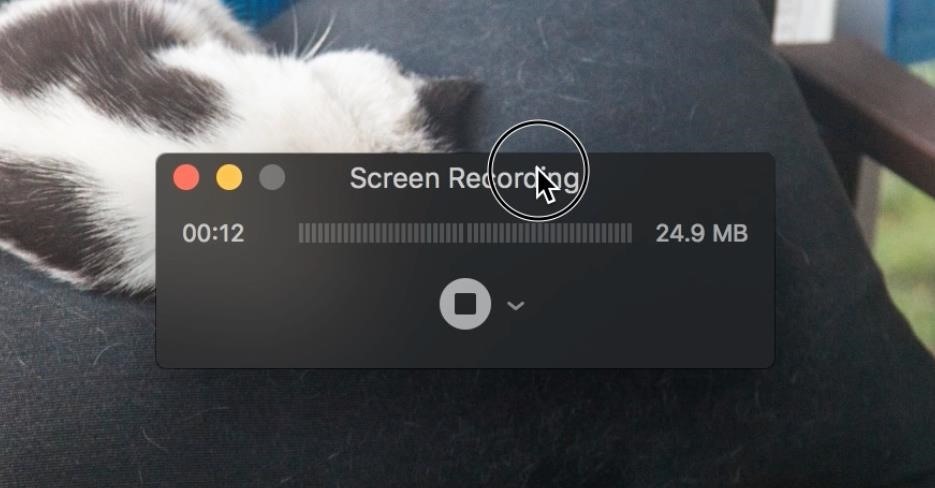
This can be useful if you're recording a certain part of the screen, then having the Screen Recording window present, but outside of your selected recording area, can help you keep track of file size, time, and can let you know if the audio is too loud.
Step 7: Save Recording
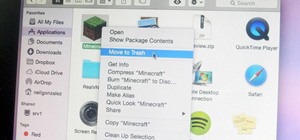
If you like what you see, you can save the video as a .MOV file. Just do the usual process of going to File -> Save from the menu bar or hit Command + S instead. You can also just click on the red X button in the video window, and it'll prompt you to save it before exiting.

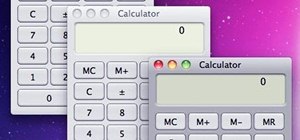
Naturally, the resolution of the recording is the resolution of your display (if recording the full screen). For example, if recording an entire 1440 x 900 pixel display, then the resolution of the recording will be 1440 x 900 as well.
One more thing to keep in mind is video quality. Generally, QuickTime will do a fine job of recording your screen. However, if you're running a heavy-duty program like a graphically intensive video game, then depending on your Mac's "horsepower," the video quality might suffer.
If the perfectionist inside you is not satisfied, simply discard the recording using the red X, don't save it, then try a new recording.
Step 8: Edit Your Video
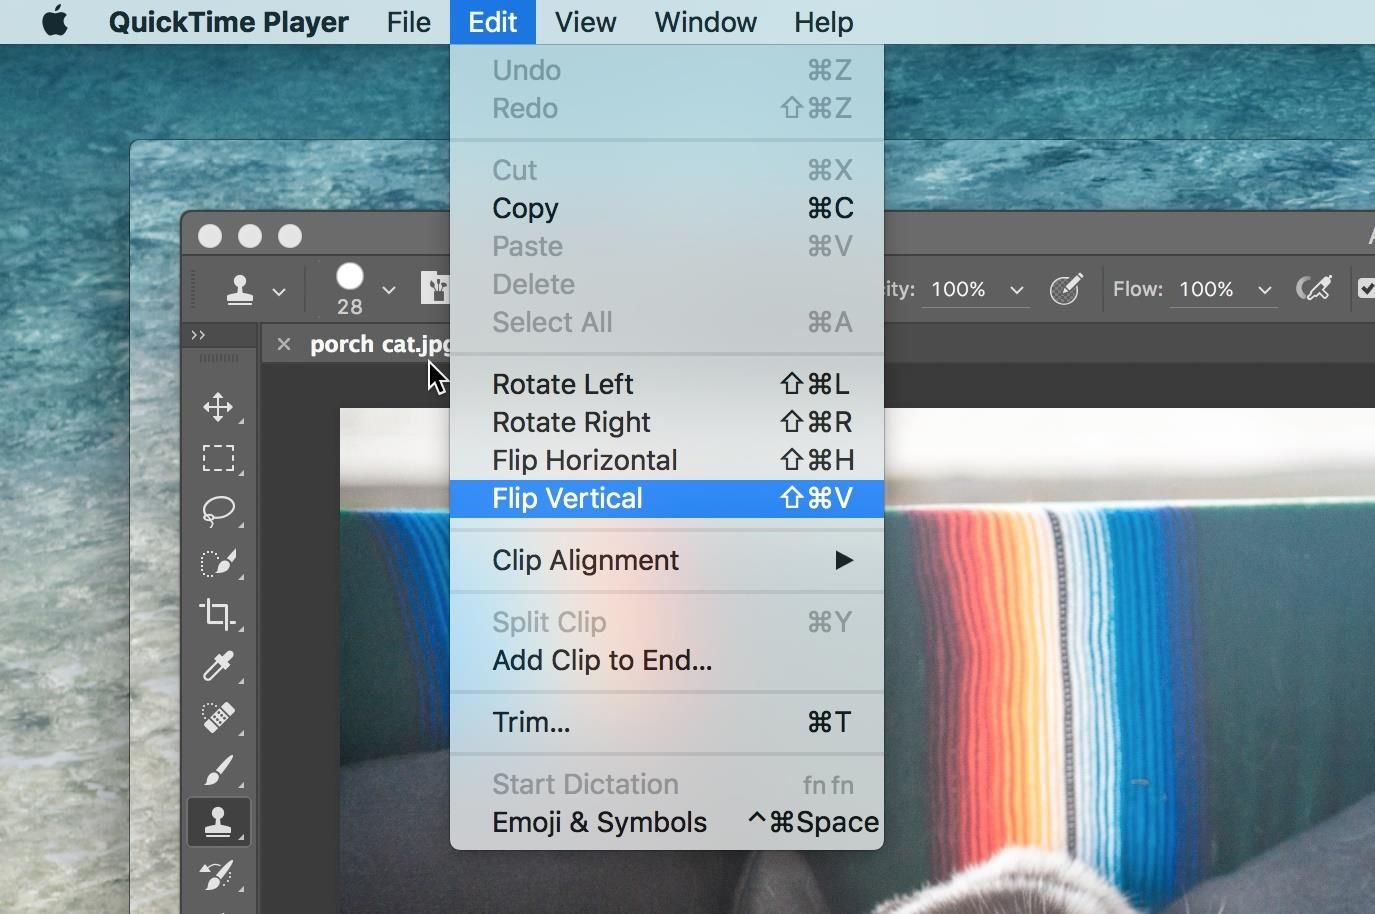
Before or after you save, you can do some basic edits of the video file with QuickTime Player itself. Options include trimming, splitting, flipping, and rotating the canvas, among other things.
Or, you can load up the .MOV file into iMovie or Final Cut or your preferred video editor and add in some nice video magic that way.
Step 9: Share Your Video
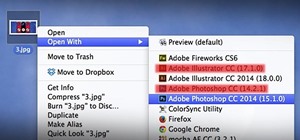
If you wish, you can export and share the video from QuickTime itself. Just go to File in the menu bar and choose Export or Share.
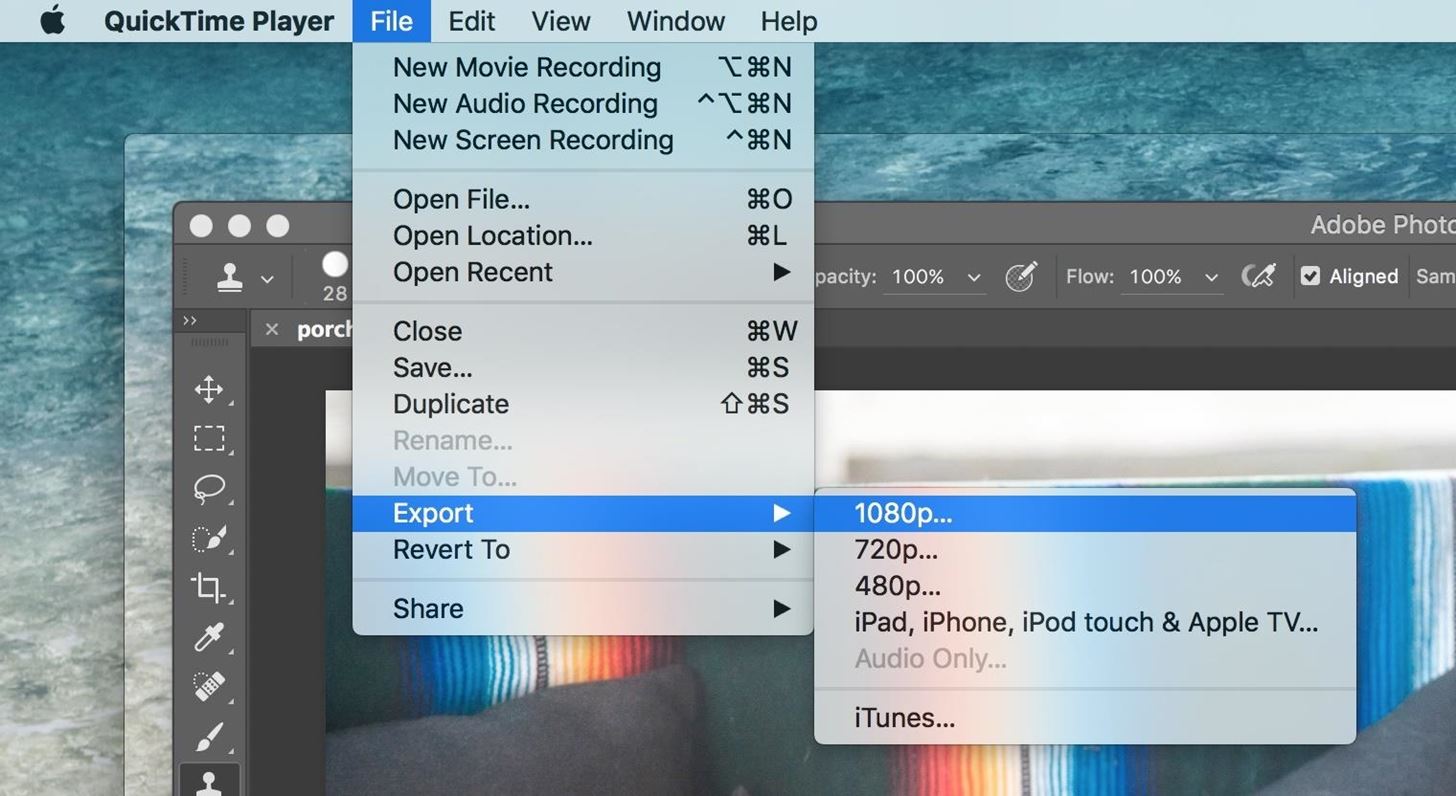
You can export in different resolutions or choose to just export the audio (if you recorded audio), or just send the video to iTunes.
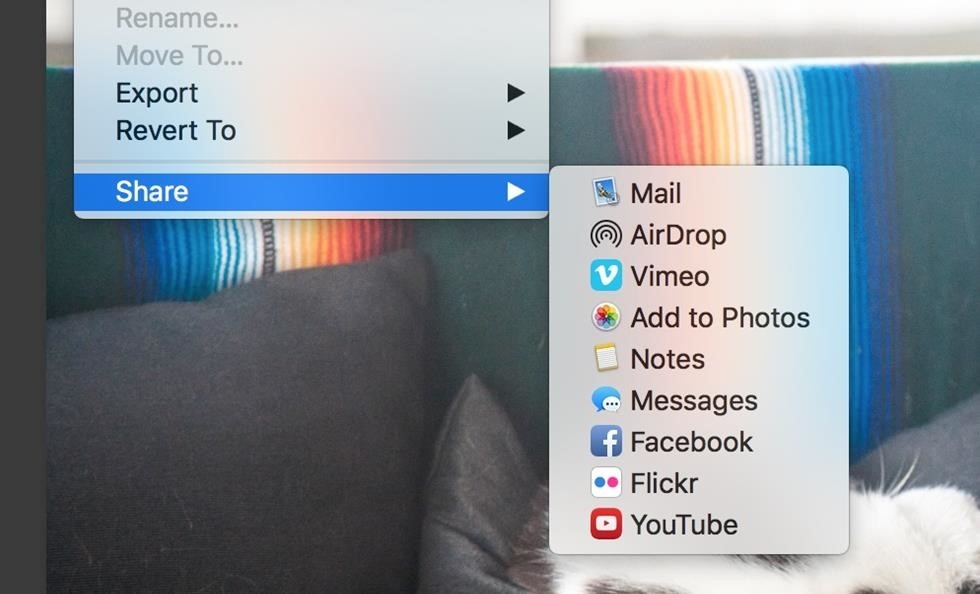
The share option gives you the standard OS X sharing methods of Mail, Messages, Notes, Photos, or AirDrop, and you can upload to Vimeo, Facebook, Flickr, or YouTube.
Recording the Screen of Your iOS Device
Like I said earlier, you can also record the screen of your iPad, iPhone, or iPod touch using this method. You will need to be running Max OS X version 10.10 or higher though with QuickTime version 10.4 or higher, and your iOS device must be on iOS 8 or higher.
As you can see, QuickTime Player is a very handy tool built right into your Mac. If you've never used it before, you've now got a reason to add this app to your Dock for faster access.
Just updated your iPhone? You'll find new emoji, enhanced security, podcast transcripts, Apple Cash virtual numbers, and other useful features. There are even new additions hidden within Safari. Find out what's new and changed on your iPhone with the iOS 17.4 update.


1 Comment
Really great idea there. When I use QuickTime, video seems to be mute. Guess this may be the sound card problem. Just got updated to OS Sierra recently, and accidentally I find a post concerning recording Mac computer screen. Also a nice solution there.
Share Your Thoughts